
Travel photography gear is essential for capturing those unforgettable moments on your adventures around the globe.
Whether you’re a seasoned photographer or just starting out, the right equipment can bring back stunning images that tell the story of your travels.
In this photography gear guide, I’ll walk you through our chosen cameras and lenses and the must-have accessories for trusted photography gear we use every day: rain, hail, or shine.
With over seven years of experience as a travel photographer, shooting in diverse locations around the world, I’ve gathered insights and tips to help you make the best choices for your travel photography kit.
Understanding the challenges of balancing cost and quality, I focus on gear that offers the best of both.
Let’s explore the world of travel photography gear, ensuring you’re properly equipped for your next adventure.
Introduction to Travel Photography Gear
Choosing the right travel photography gear goes beyond just picking the best camera and lenses; it involves tailoring your equipment to meet the specific needs of your destinations.
Different environments pose unique challenges.
You’ll need to consider a durable and high-performing camera and the right accessories to get the results you want.
Mirrorless vs DSLR Cameras for Travel
Let me start by saying that neither Nikon, Canon, nor Sony has produced a new DSLR in years. DSLR is old technology. The age of the mirrorless camera has well and truly dawned.
Mirrorless are hands down smaller, lighter, and faster than a DSLR.
This makes a mirrorless camera the right choice as a travel-friendly camera for any budding or professional photographer. And with so many manufacturers and models on the market, the prices can be quite competitive.
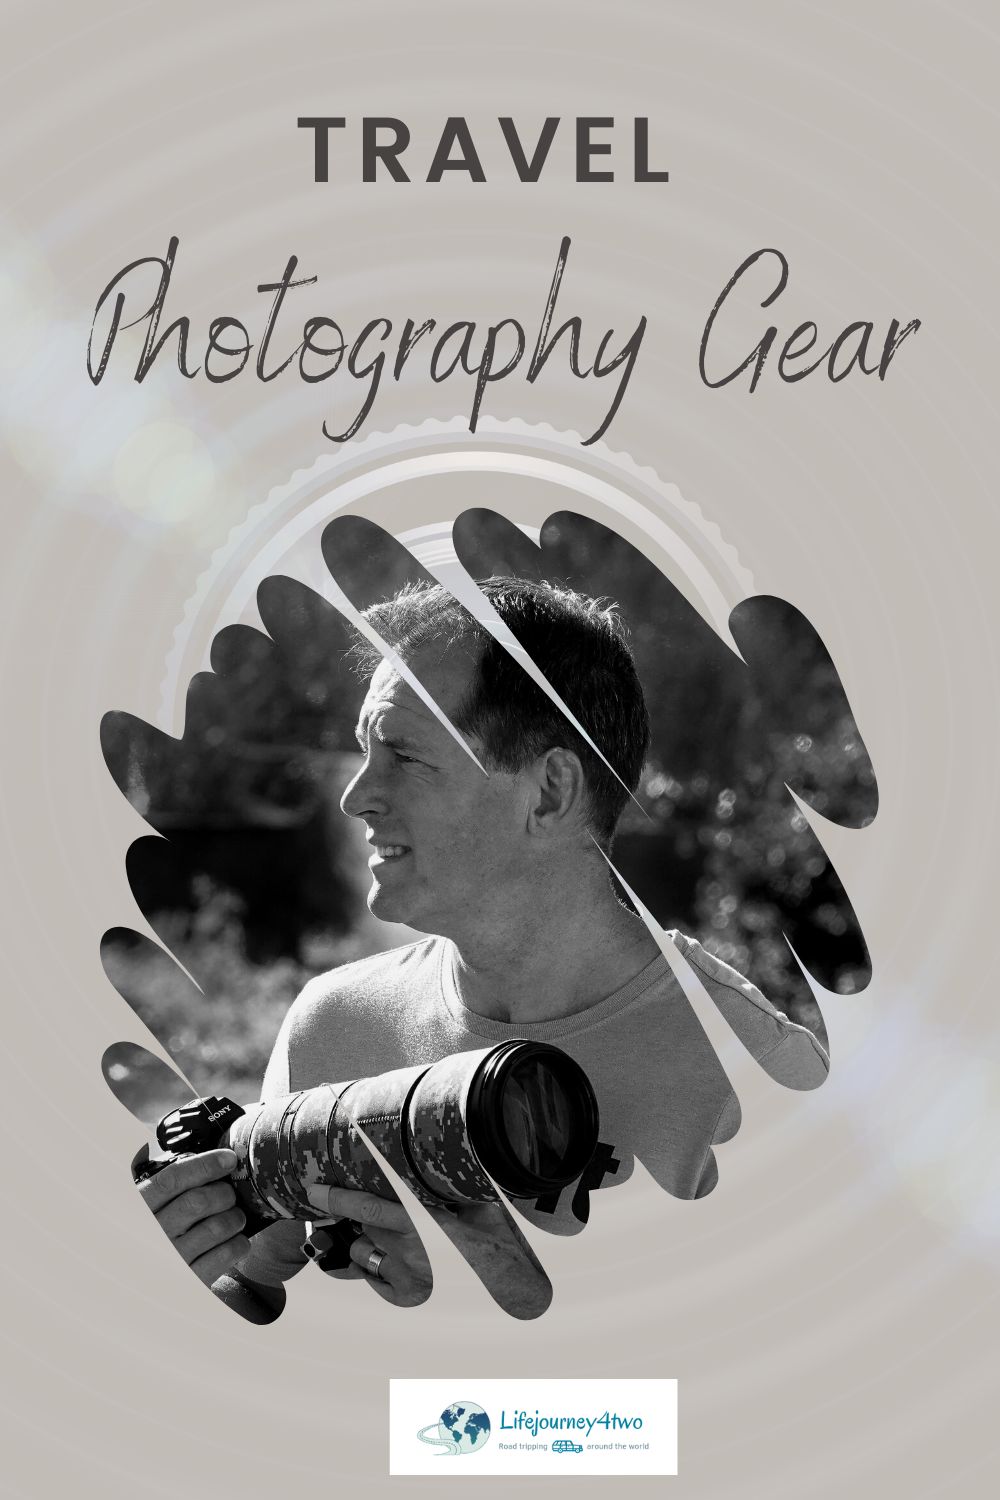
It’s no secret that my wife, Shelley and I have chosen to shoot with Sony mirrorless cameras. We’re not the only ones who love Sony photography gear.
Essential Photography Accessories for Travellers
Best Mirrorless Camera For Travel
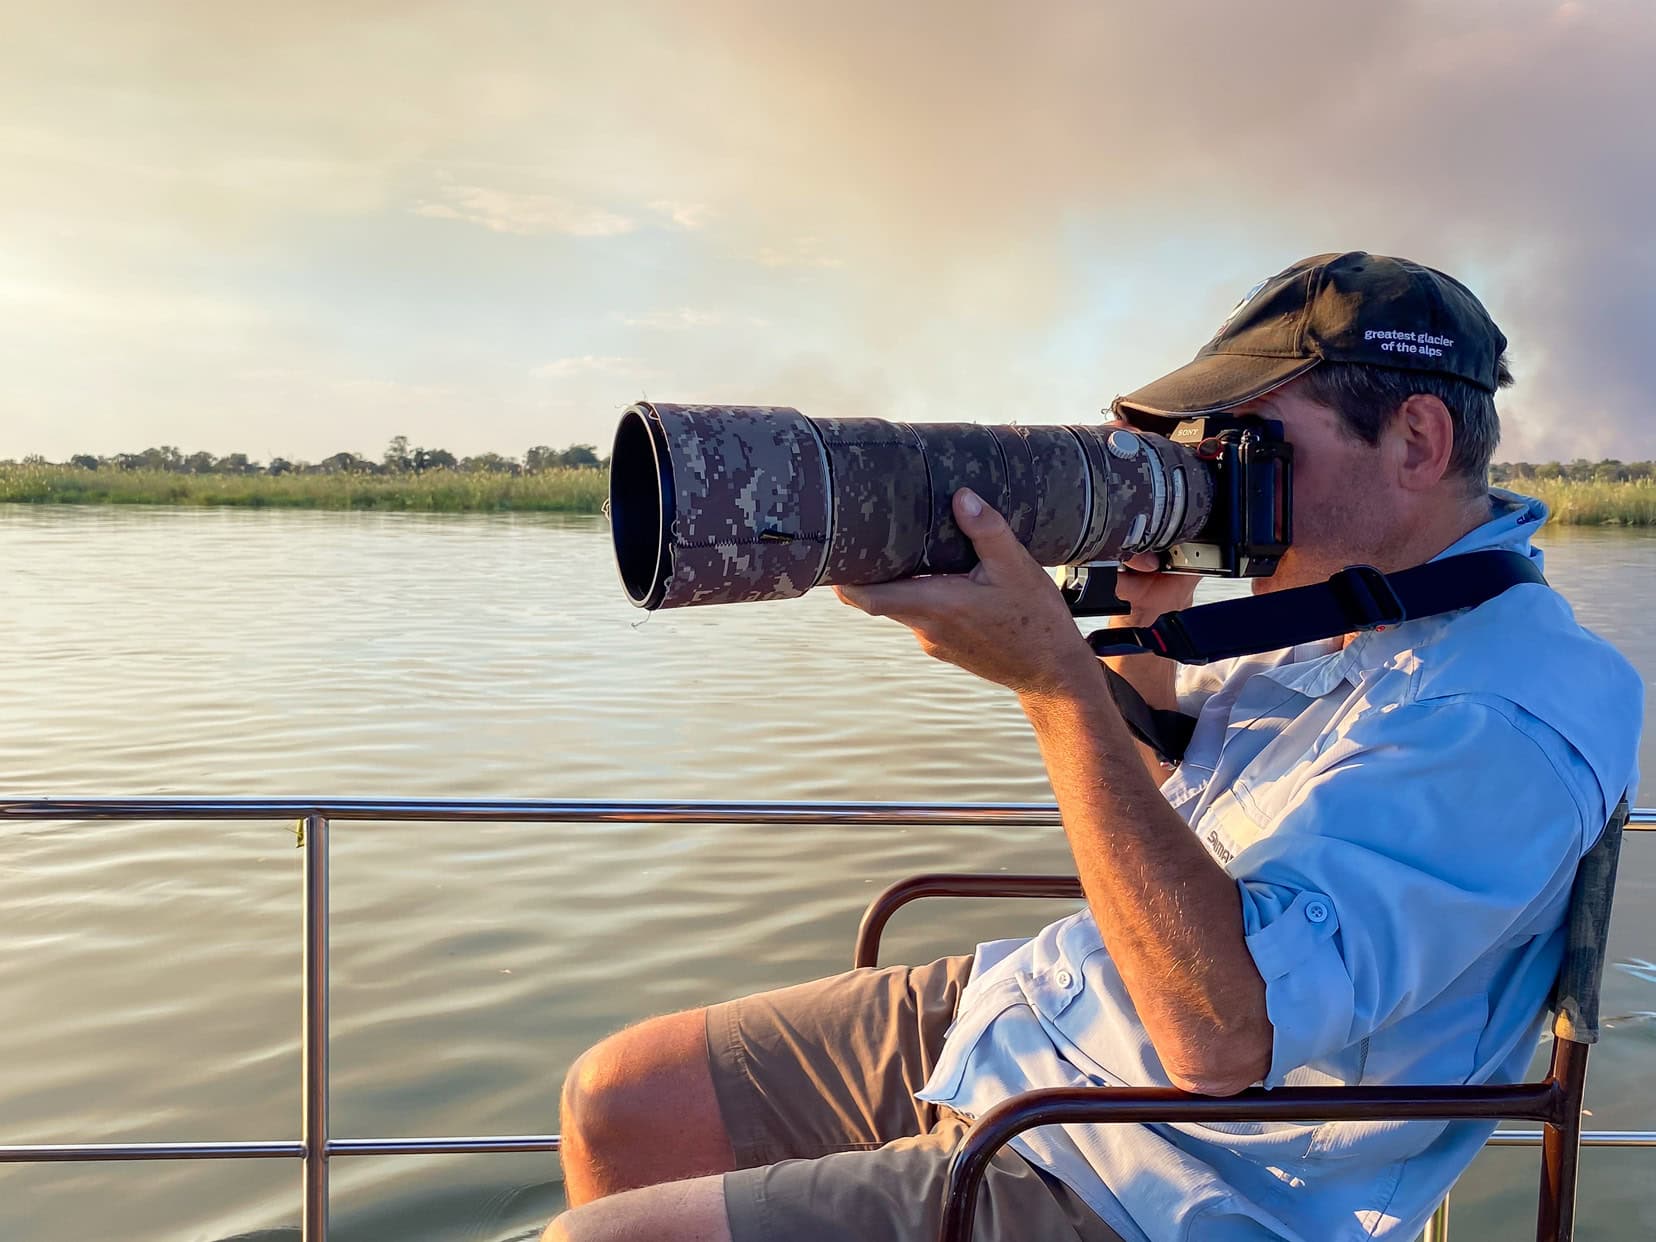
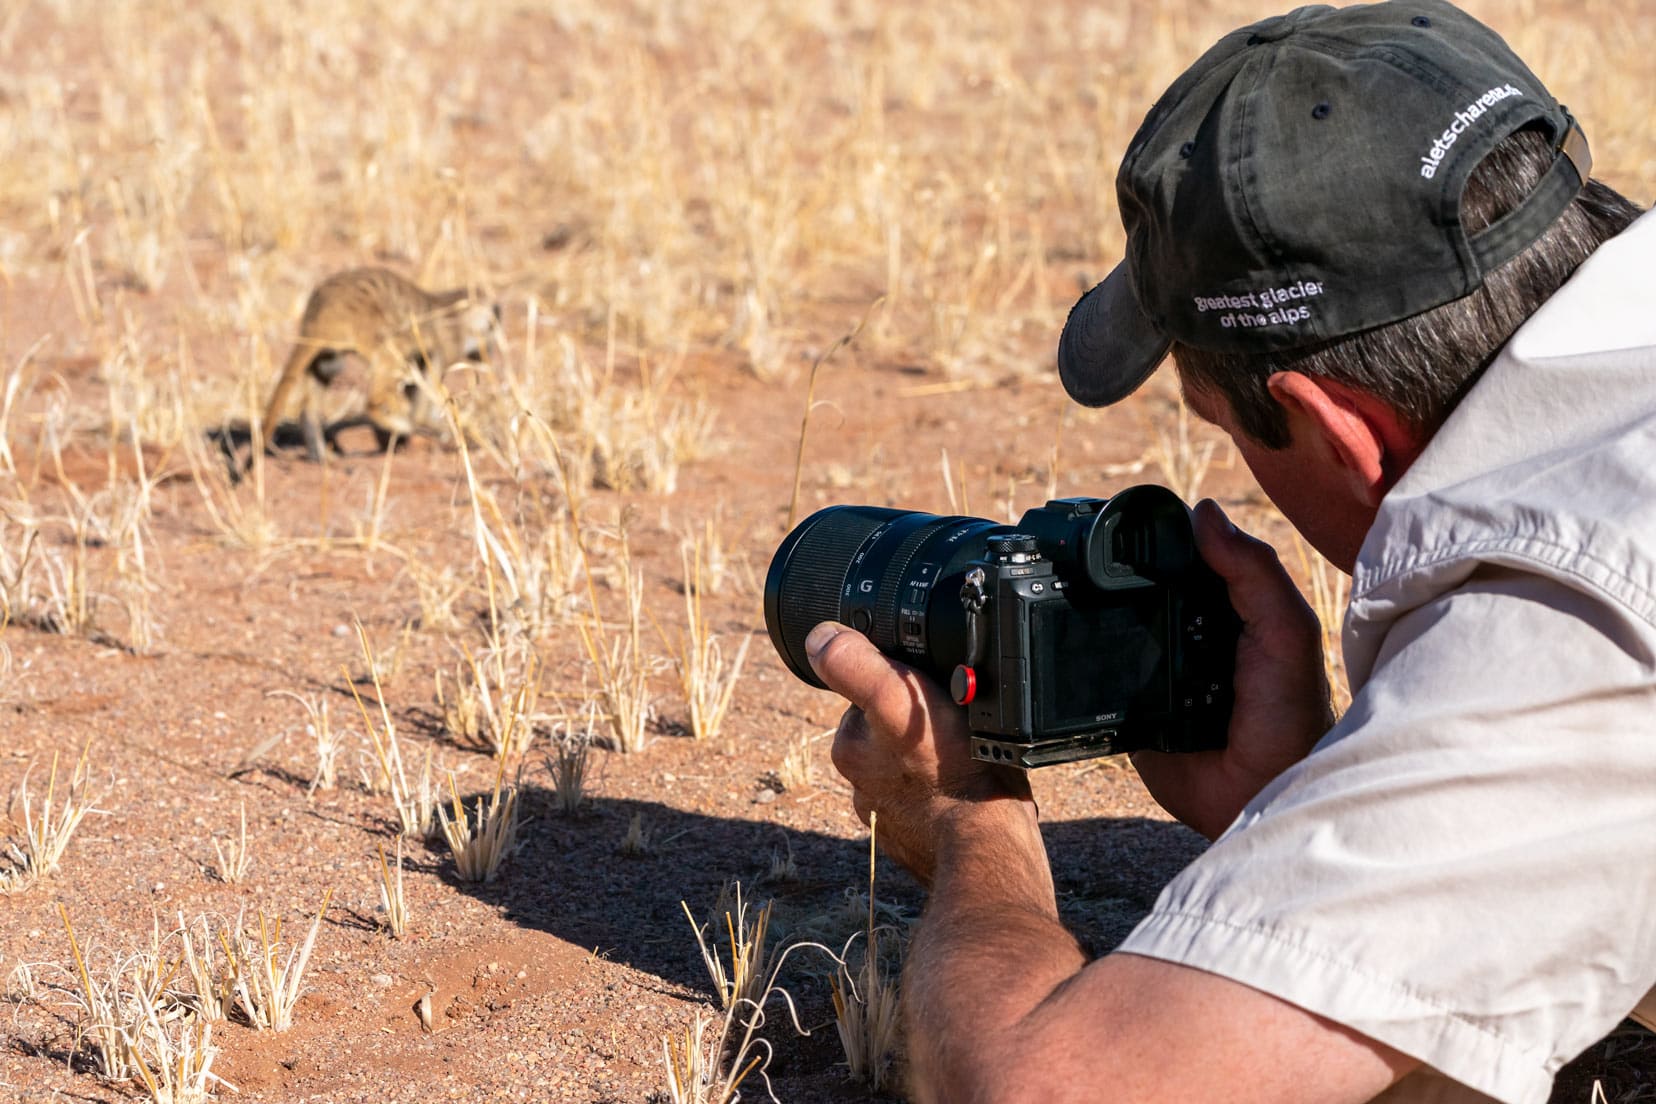
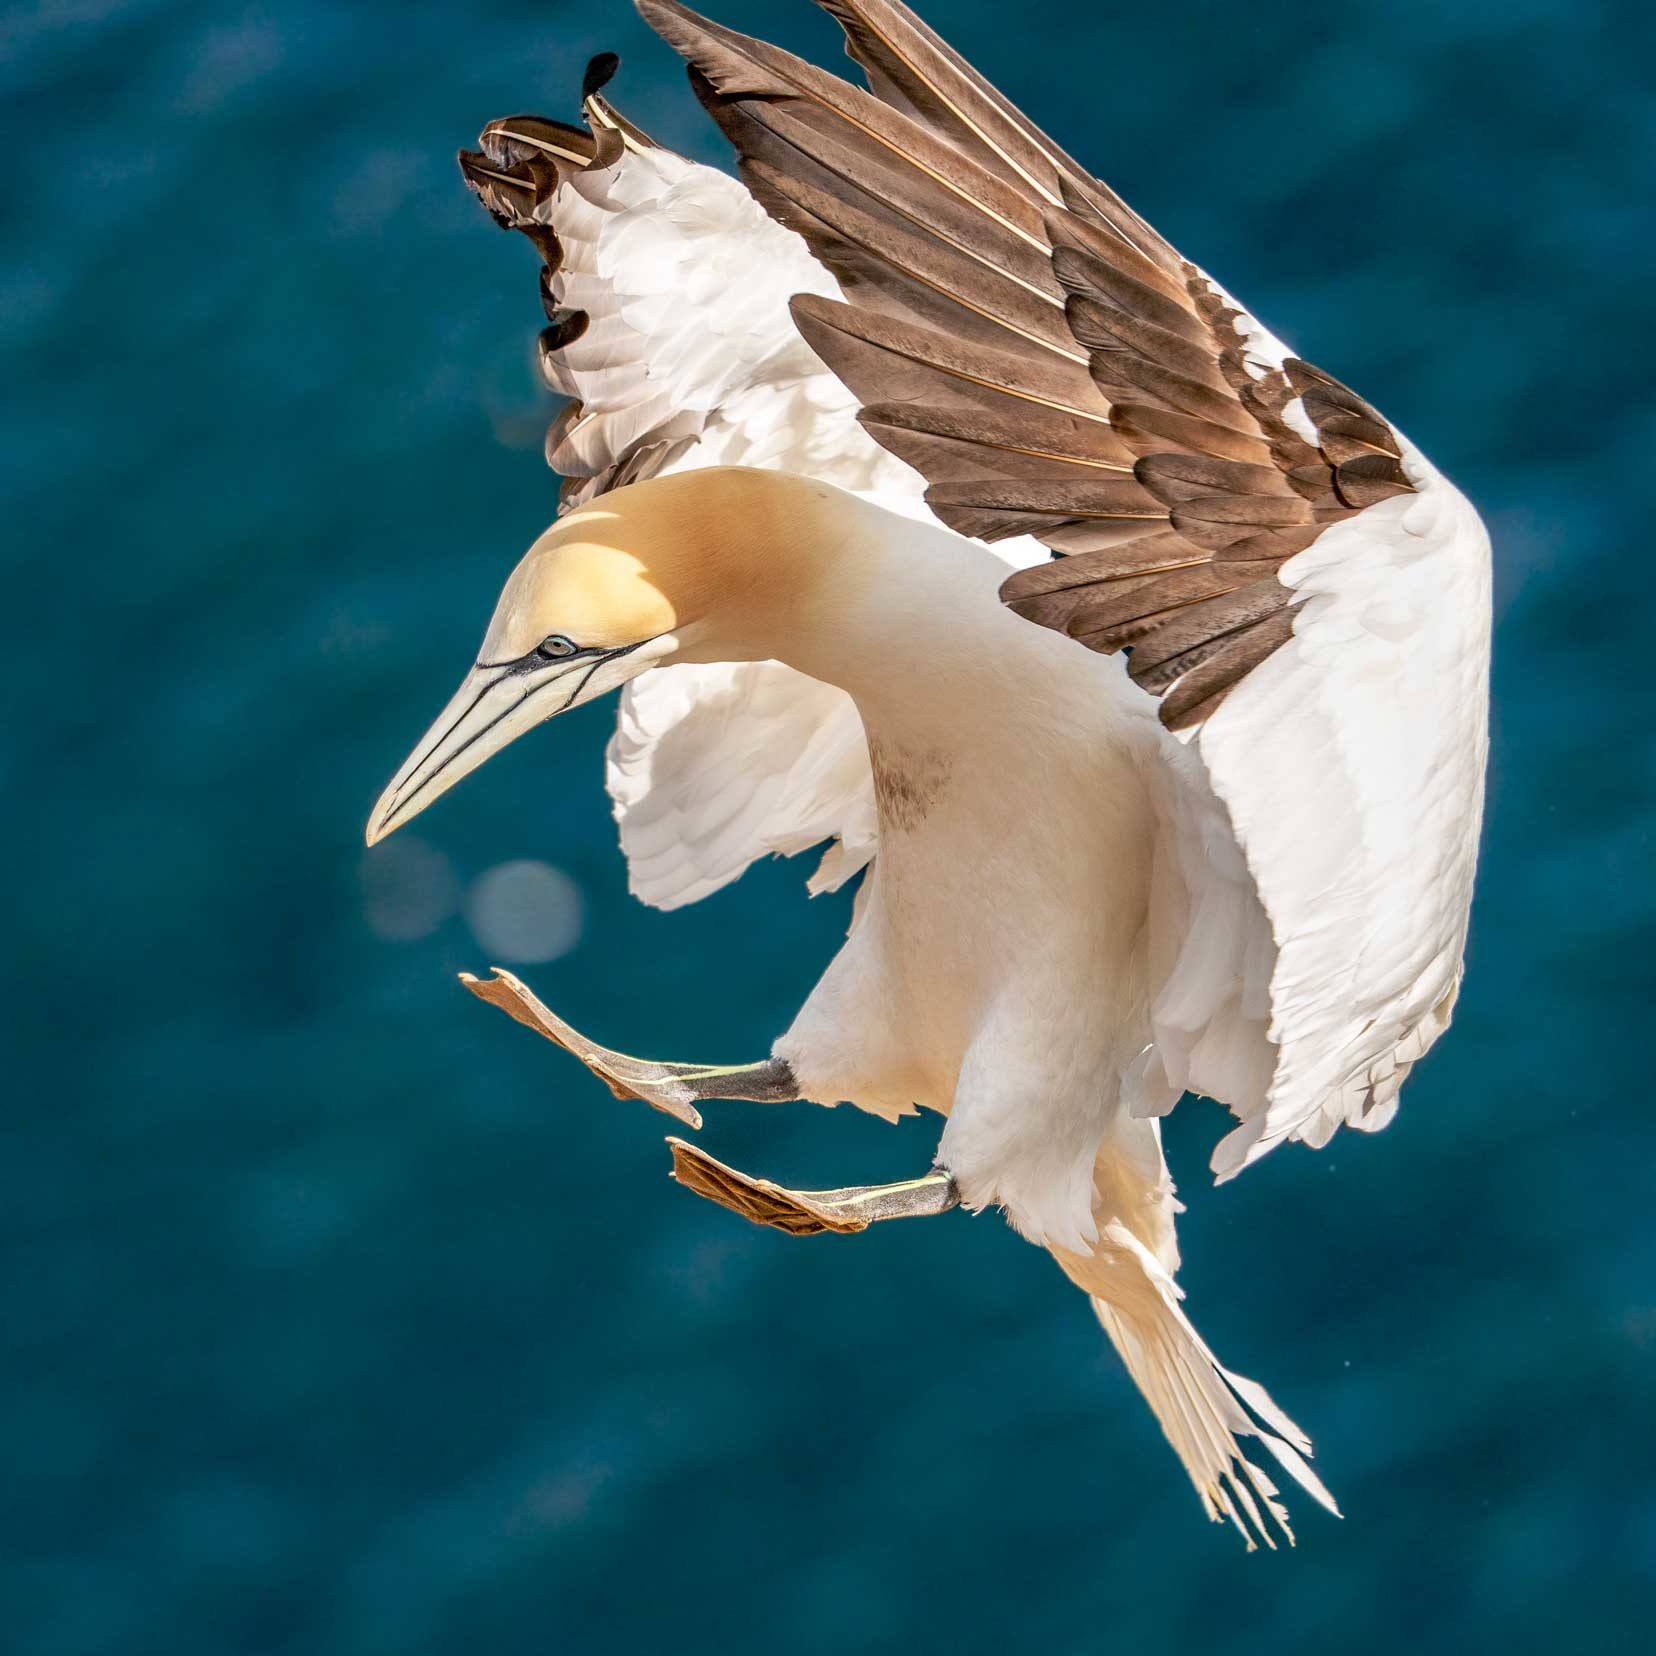
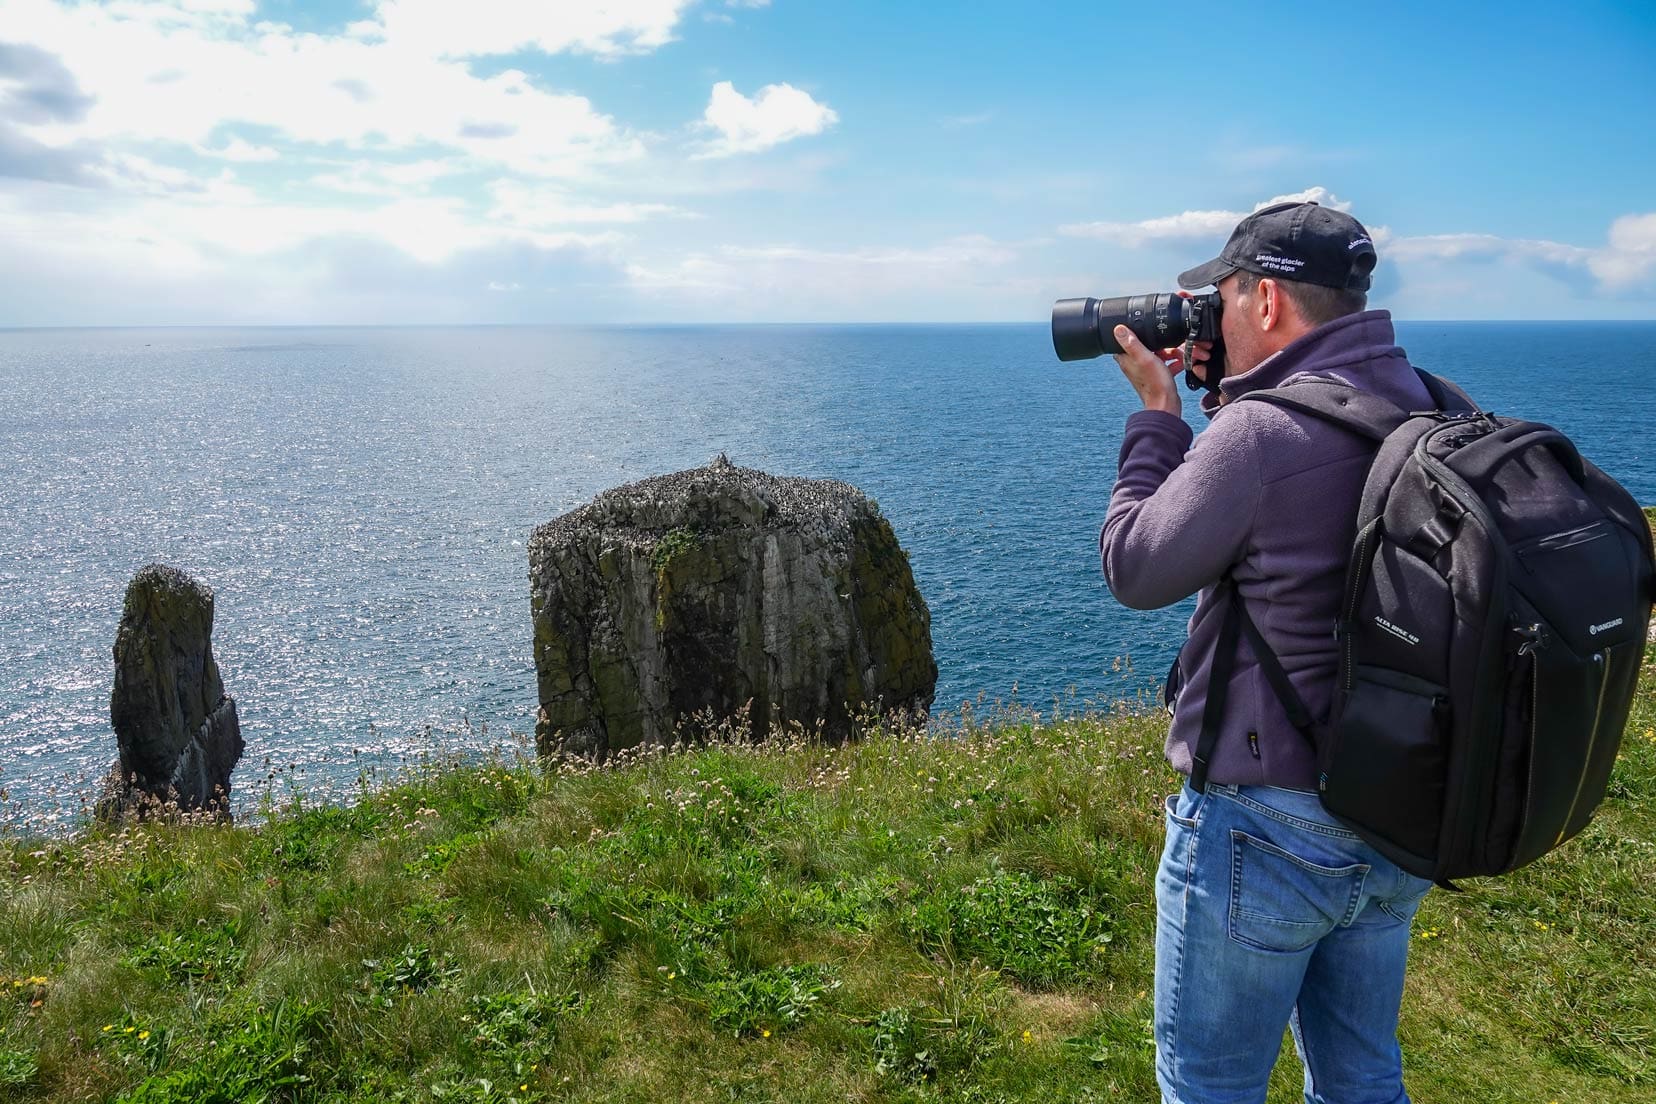
The Sony a9 won me over with its blackout-free shooting, making it perfect for photographing fast-moving subjects such as flying birds, which is my personal favourite to shoot.
For more insights into bird photography, especially in iconic locations like the Kruger National Park, check out our post on birds in Kruger National Park and common birds found in South Africa.
Matched with Sony lenses, the Sony a9 can shoot up to a maximum of 20 frames per second with super-fast shutter speed.
That’s sizzling fast.
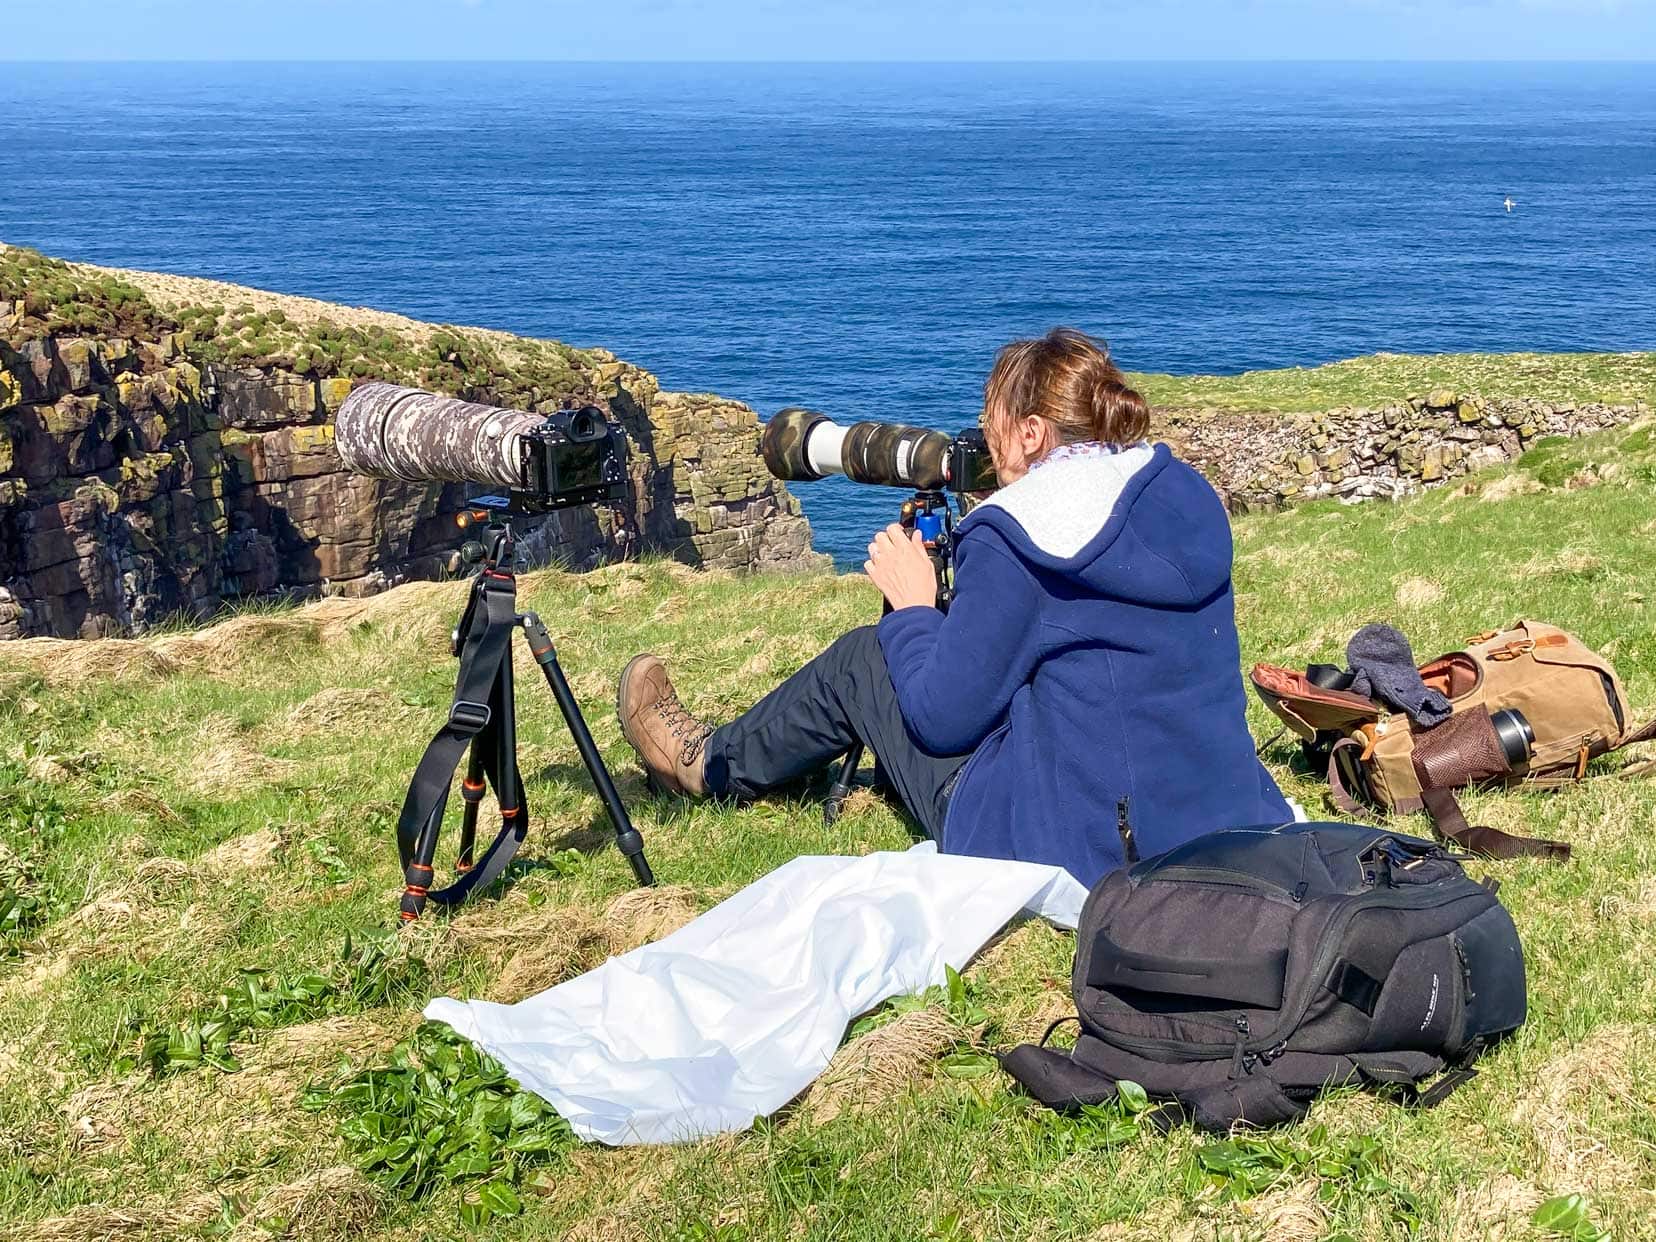
Why Dual Sony a9s?
We both shoot with a main Sony a9 body and a backup. On safaris, using different lenses on each body saves precious time.
While a second camera body is a luxury for most, consider a modern mobile phone a capable backup for casual photography. For more tips on capturing wildlife effectively, check out our detailed guide on safari photography tips.
The Sony a9 is not manufactured anymore; only the Sony a9II and a9III come as new, but this opens the window for cheaper, good-quality second-hand cameras. This is how I bought one of my Sony a9s.
Best mirrorless budget camera option: Sony a9
Memory Cards
Early on, I chose reliable brands like Sony and Sandisk for their waterproof, dustproof features and fast speeds of up to 300 Mb/s. Travelling through Africa and Western Australia, we especially need dustproof equipment.
The Sony a9’s dual slots mean a backup card is always ready, providing peace of mind
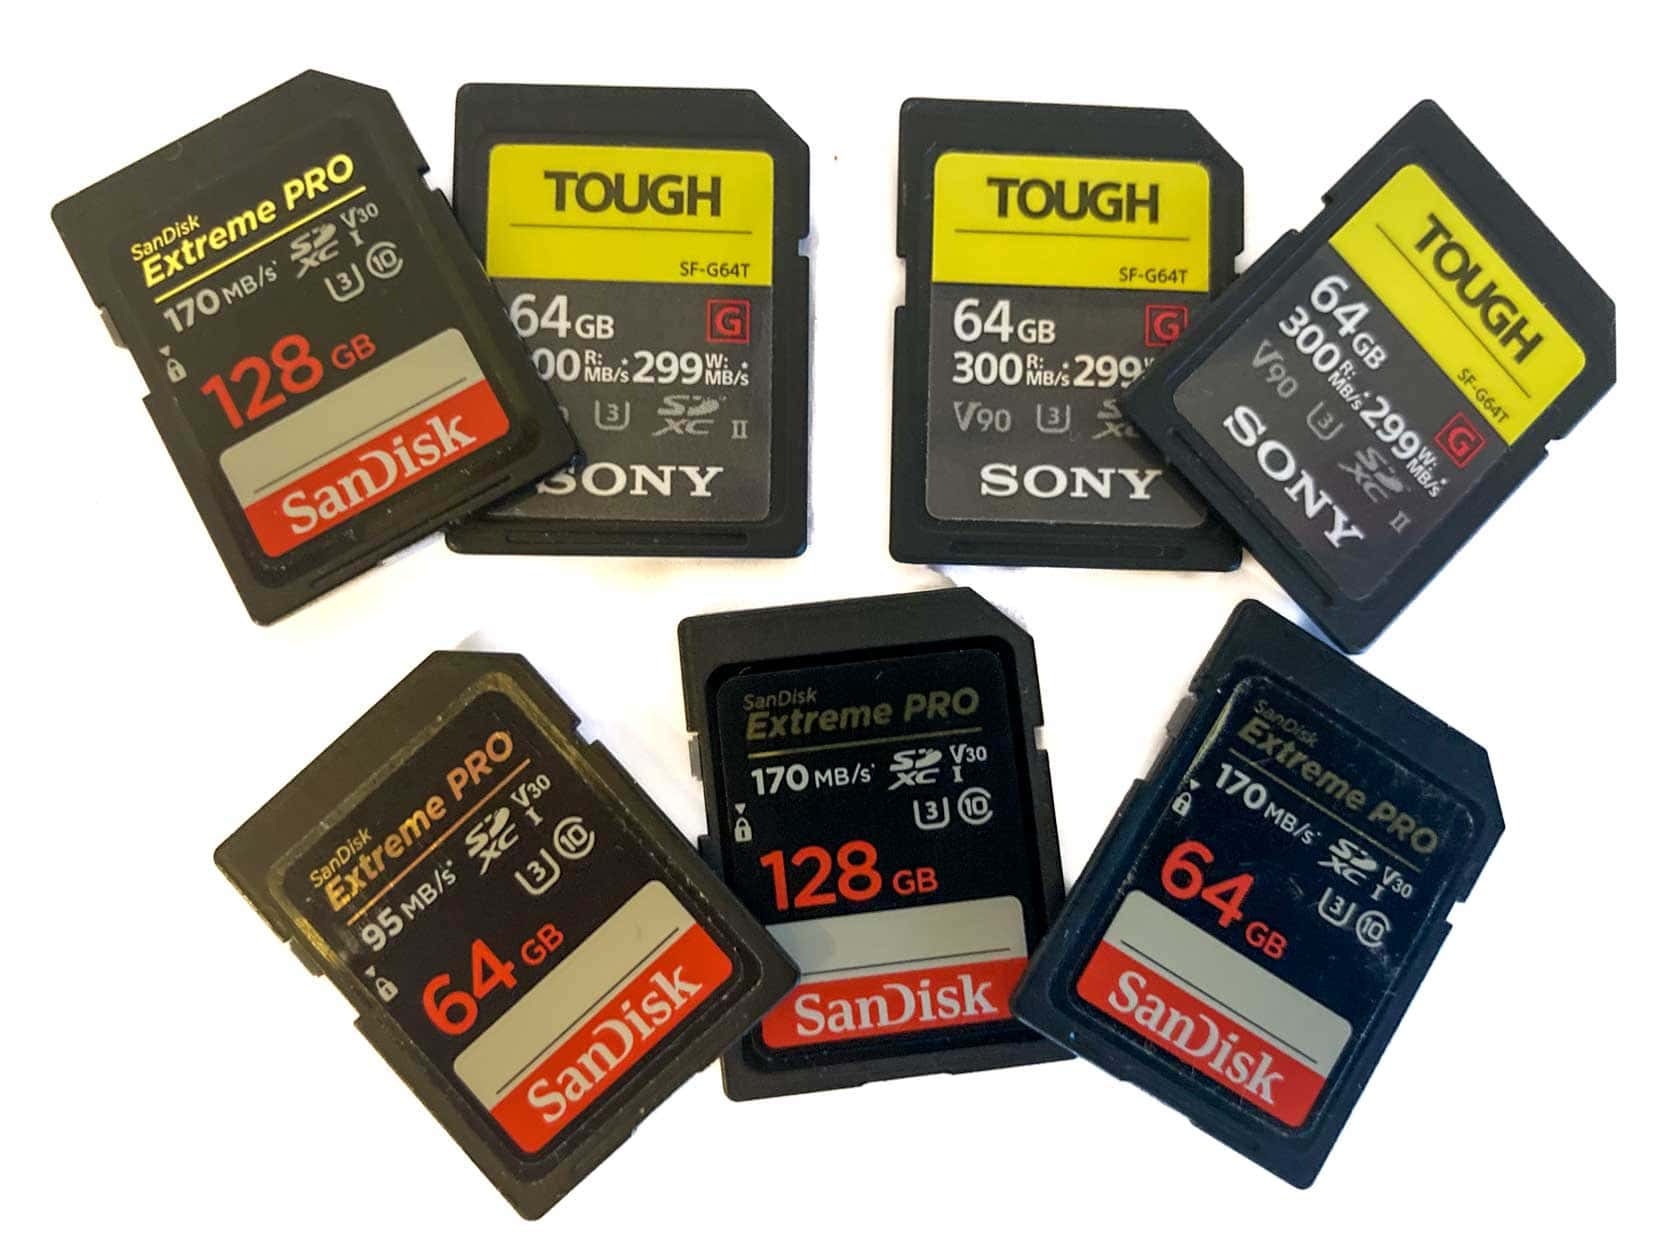
The Sony and Sandisk cards meet all my requirements, with a blistering 300 Mb/s read/write speed. The Sony a9 accepts two memory cards, so I always know that a backup card is ready in-camera.
Best memory card manufacturers: Sony, Sandisk
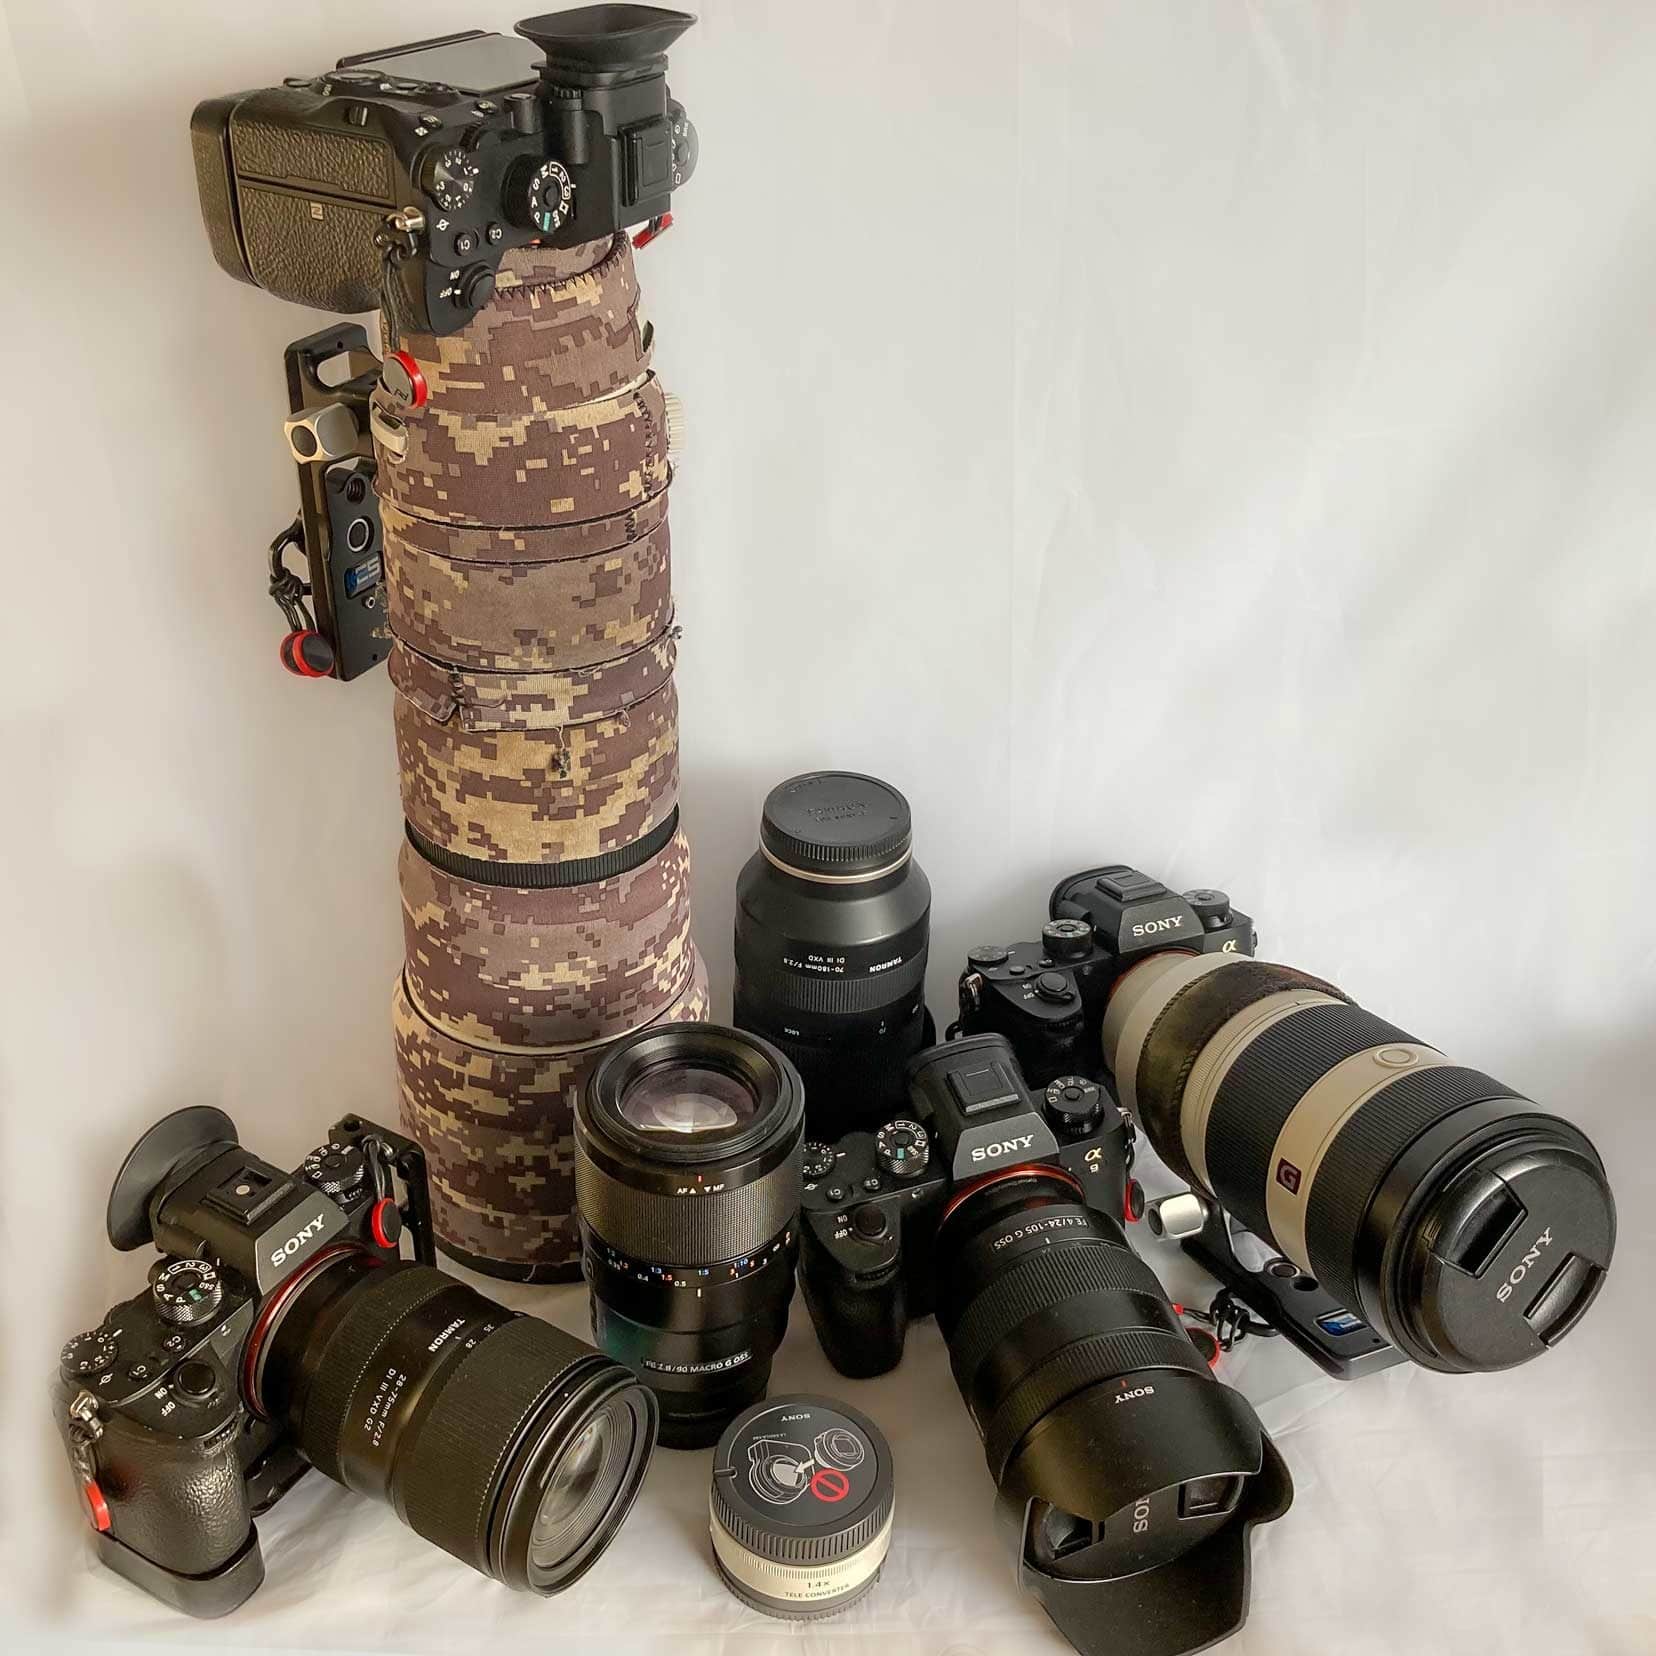
Camera Lenses
I have a combination of Sony and Tamron lenses. Why choose Tamron?
Tamron lenses are often much cheaper and lighter than the equivalent Sony lens but have similar sharpness. As budget travellers, we need to balance cost, weight, and quality.
My recommendation is to travel with one wide-angle and one mid-range telephoto lens. This will cover most shooting scenarios.
I’ve placed our camera lenses into three categories: wide-angle, mid-range telephoto and super-telephoto.
Wide Angle Lens
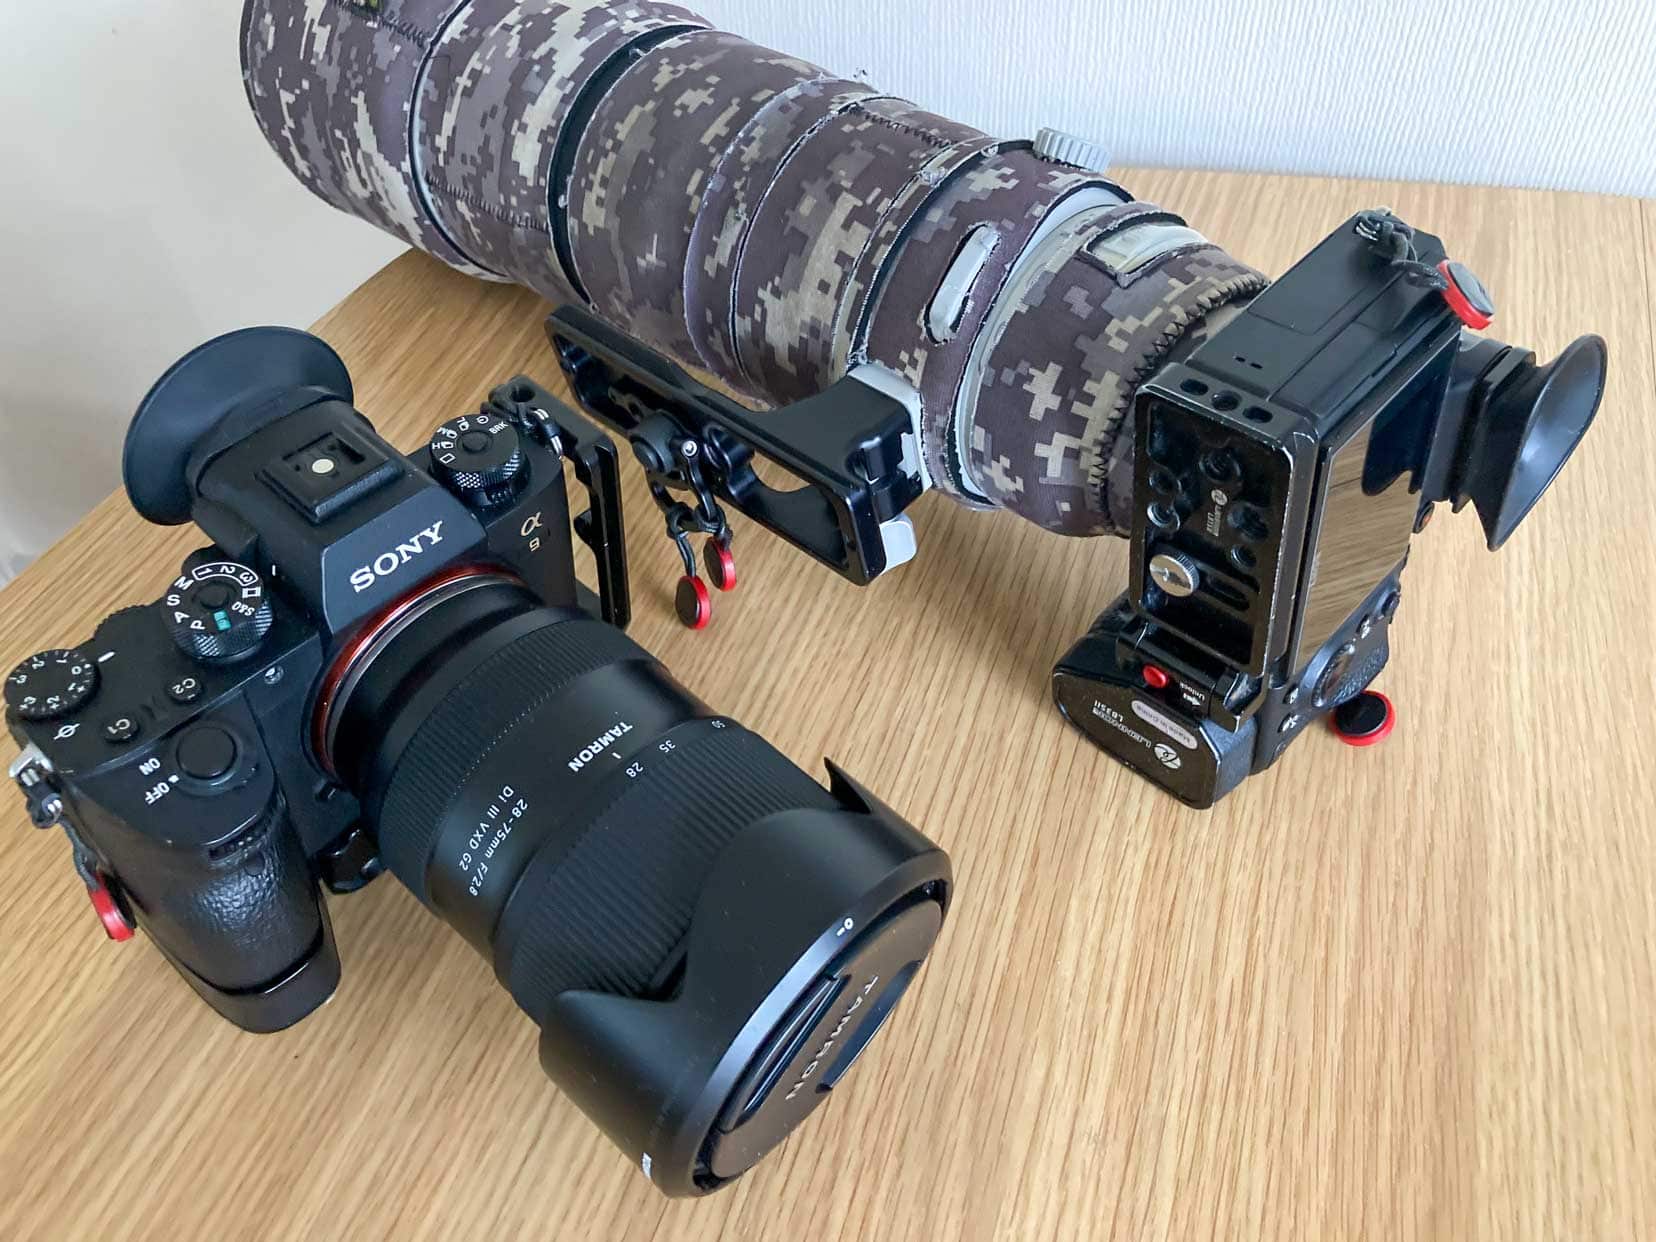
I regularly use the Sony 24-105mm f4.0, Sony 20mm f1.8, and Tamron 28-75mm f2.8 lenses. I selected zoom lenses for their flexibility of focal range as I like to frame the scene for landscape photography.
The Tamron 28-75mm stays on my camera 90% of the time when shooting landscapes; otherwise, it’s the Sony 20mm f1.8 for those low light and astrophotography shoots when you need a wide aperture.
Learn more about capturing celestial bodies with my article on shooting the moon.
Budget-friendly landscape lens option: Tamron 28-75mm f2.8
Mid-Range Telephoto Lens
The Sony 100-400mm f4.0 is a real performer; however, its price is more than double that of my Tamron 70-180mm f2.8. Shelley uses the Sony, which is suitable for many shooting scenarios with its great focal length range.
Both lenses have fast focus and great sharpness.
I have a Sony 70-300mm f4.5/5.6 lens, which has a great focal range but is pretty heavy. Therefore, I prefer to use the Tamron, which is a lighter and faster lens, being an f2.8.
Budget-friendly mid-range lens option: Tamron 70-180mm f2.8
Super-Telephoto Lens
The Sony 100-400mm f4.0 also doubles as a great super-telephoto, but the Sony 200-600mm f5.6/6.3 outshines all other telephoto lens options.
To clarify, I’m not including the Sony 600mm f4.0 prime that costs a kidney in this discussion.
Super-telephoto lenses are specialist lenses, not because you need to be a professional to use them, but because they have a specific use and are not cheap compared to wide-angle lenses.
I can only recommend the Sony 200-600mm. It’s never let me down and works seamlessly with the Sony a9 for sharp images.
Best super-telephoto lens option: Sony 200-600mm f5.6/6.3
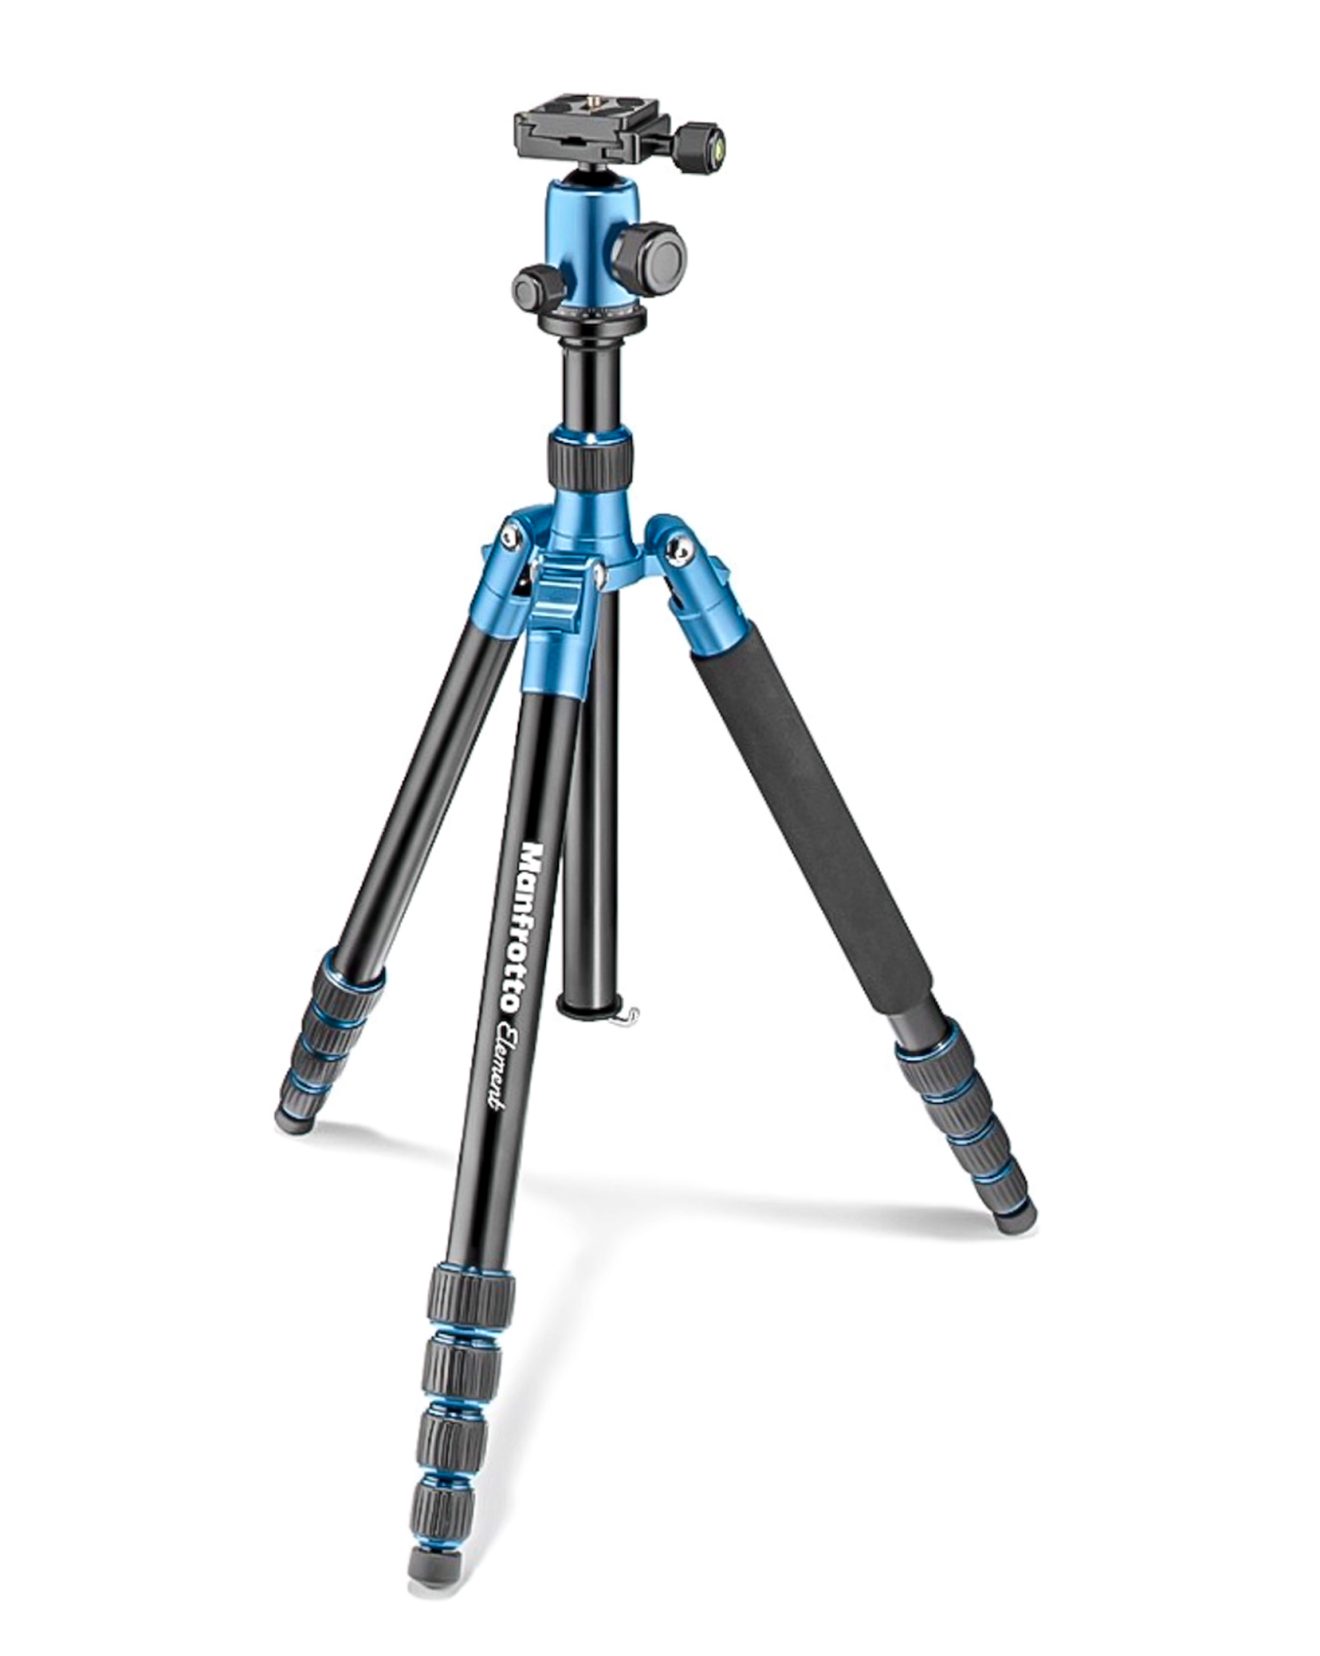
Tripod
A tripod is essential for low-light, long-exposure, and night photography. My tripod of choice is the Manfrotto Travel tripod, which collapses to a manageable 40 cm in length.
Being aluminium rather than carbon fibre, it’s cheaper and heavier but handles the elements perfectly well. When choosing a tripod, really be honest with yourself about its weight and whether you will be comfortable carrying it for long periods of time.
The Manfrotto Travel tripod has a ball head that securely grips the camera in any weather.
Personally, I prefer the twist lock legs over the click lock because I don’t need to use force to tighten them. Another consideration when choosing the right tripod.
Budget-friendly travel tripod option: Manfrotto Travel Tripod
Filters
There are two types of filters I use.
ND Filter
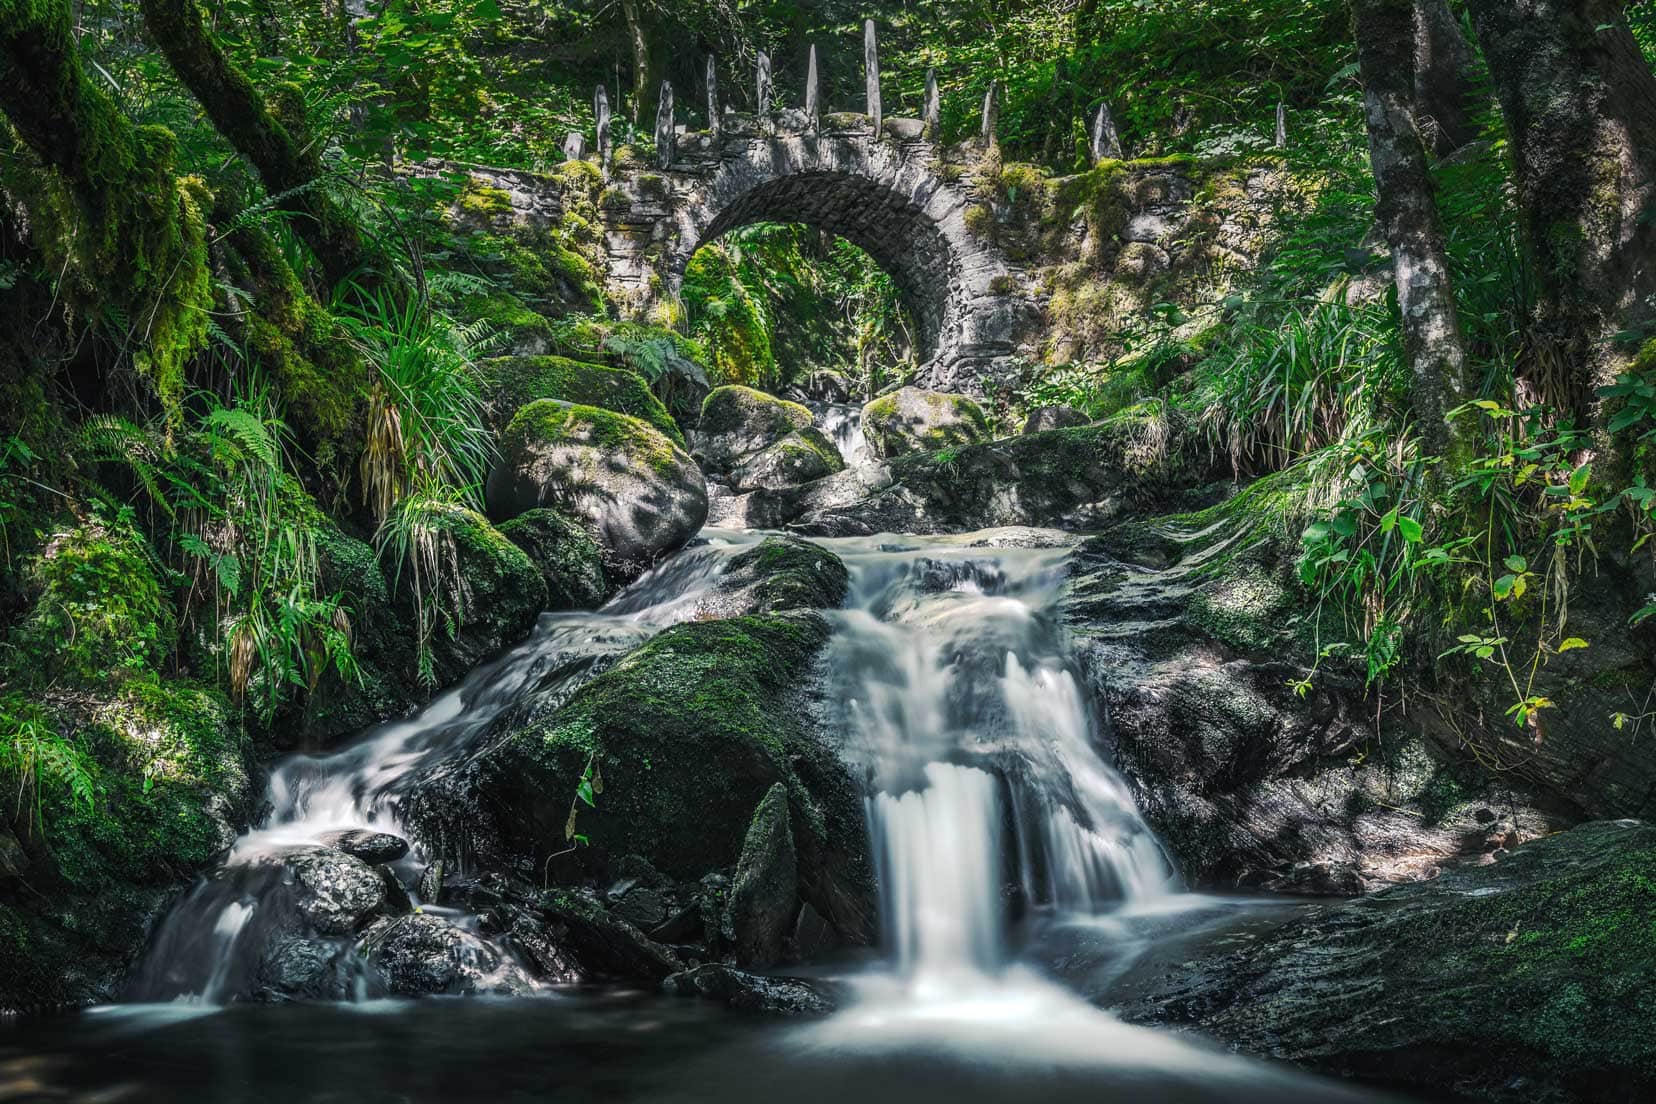
The ND (neutral density) filter acts like a pair of sunglasses on the lens, reducing the amount of light that enters with the knock-on effect of increasing the exposure time when ISO is set to a fixed value.
This filter is great for slowing down the action of moving water for that super-smooth look or for sunsets to help enrich the soft colours. I use a Gobe 8-stop ND filter most of the time. Gobe is neither cheap nor expensive, but it’s a reliable filter.
CPL Filter
The CPL (circular polarising/linear) helps to reduce glare and reflections, especially with water. It’s impossible to de-glare a body of water after the shot is taken however, by dialling in the right amount of filtering beforehand, the image will look completely different.
I’ve been caught out a few times when I forget to adjust the amount of the filtering with the CPL, and the final image shows banding in the sky with dark and light blue areas.
As mentioned, Gobe offers good filters at reasonable prices.
Best filter brand on a budget: Gobe ND, Gobe CPL
Accessory Recommendations for Travel Photography Gear
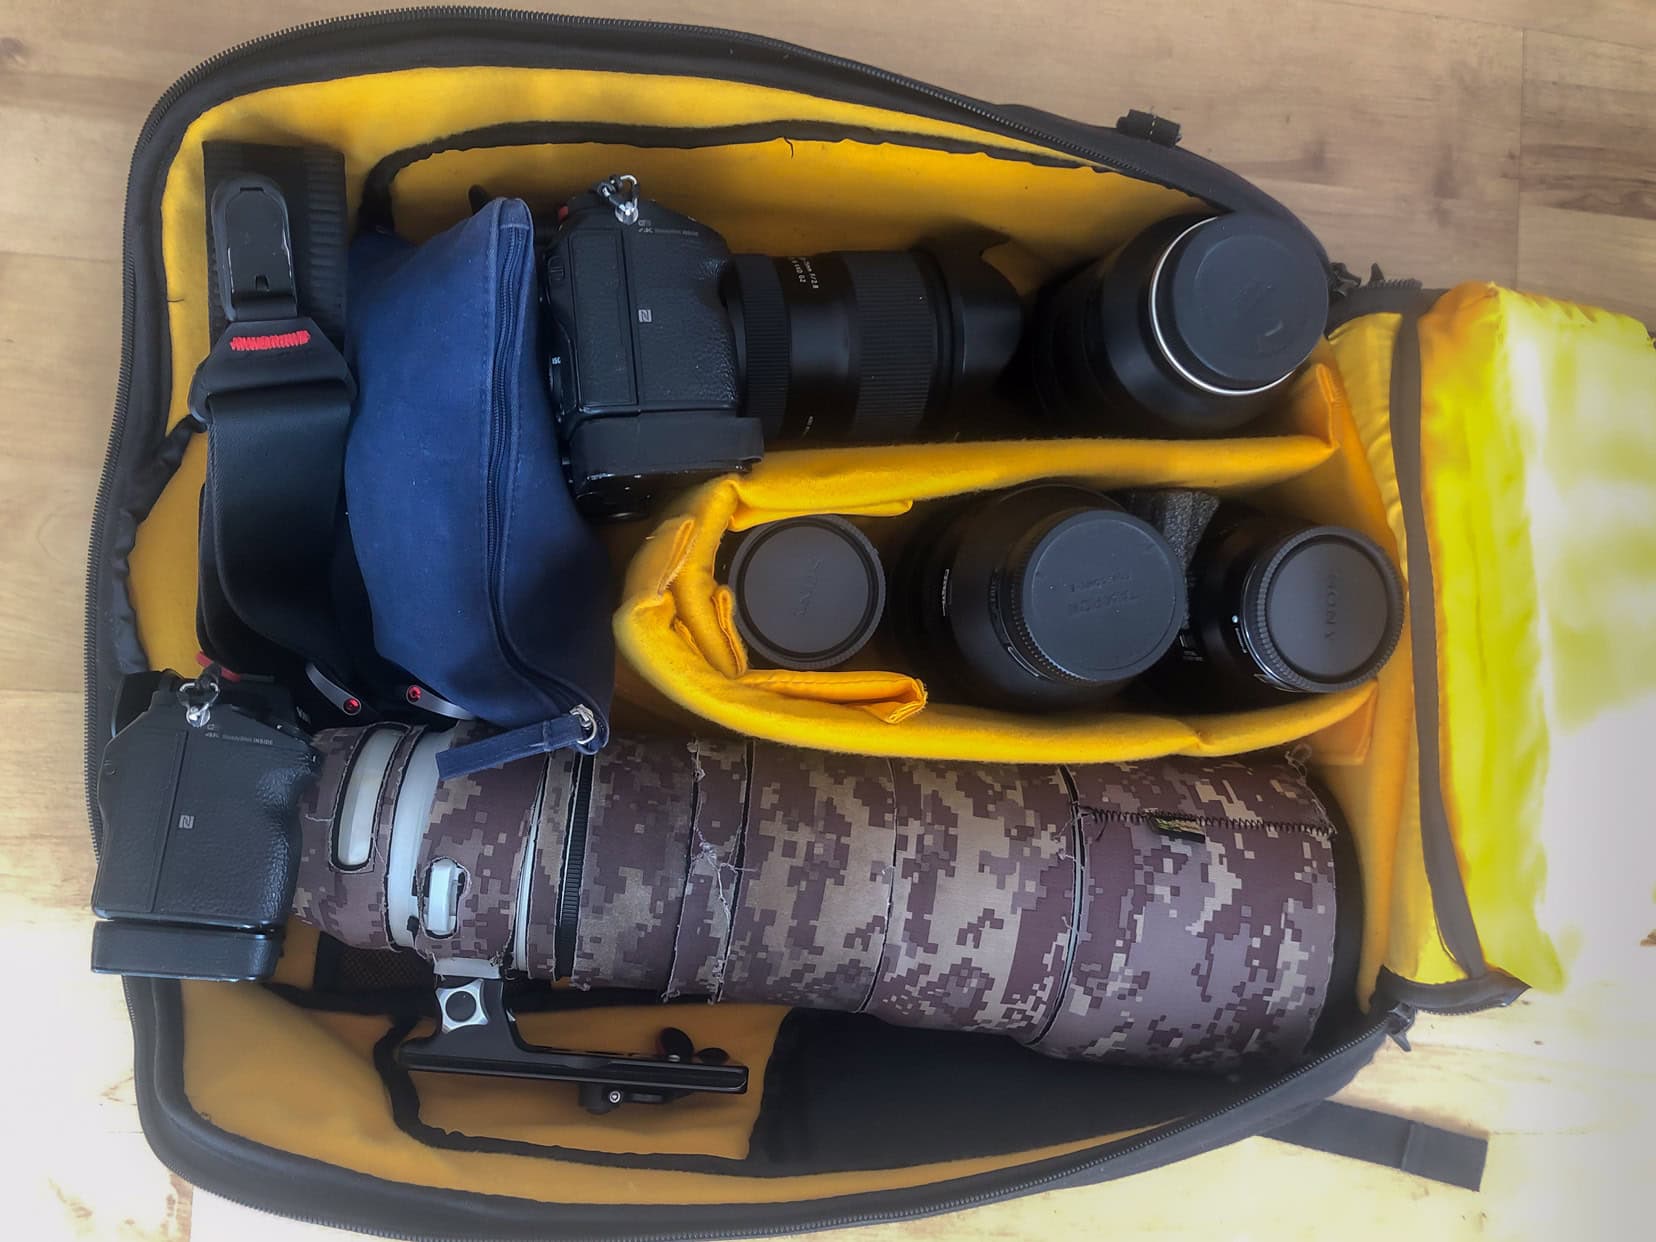
Vanguard Alta Rise 48 Backpack
The Vanguard Alta Rise 48 carries all my photography gear and tripod. The deciding factor in choosing Vanguard was that it fits my two cameras with their lenses attached.
The Sony 200-600mm is a long lens, and it fits into my Vanguard Alta Rise 48 bag with the lens hood reversed. Here’s what I fit into my camera bag:
- Sony a9 with Sony 200-600mm lens attached
- Sony a9 with Tamron 28-75mm lens attached
- Sony 70-300mm lens
- Tamron 70-180mm lens
- Sony 20mm lens
- Sony 90mm macro lens
- Cleaning gear and Peak Design Slide
- Tripod straps to the side of the bag.
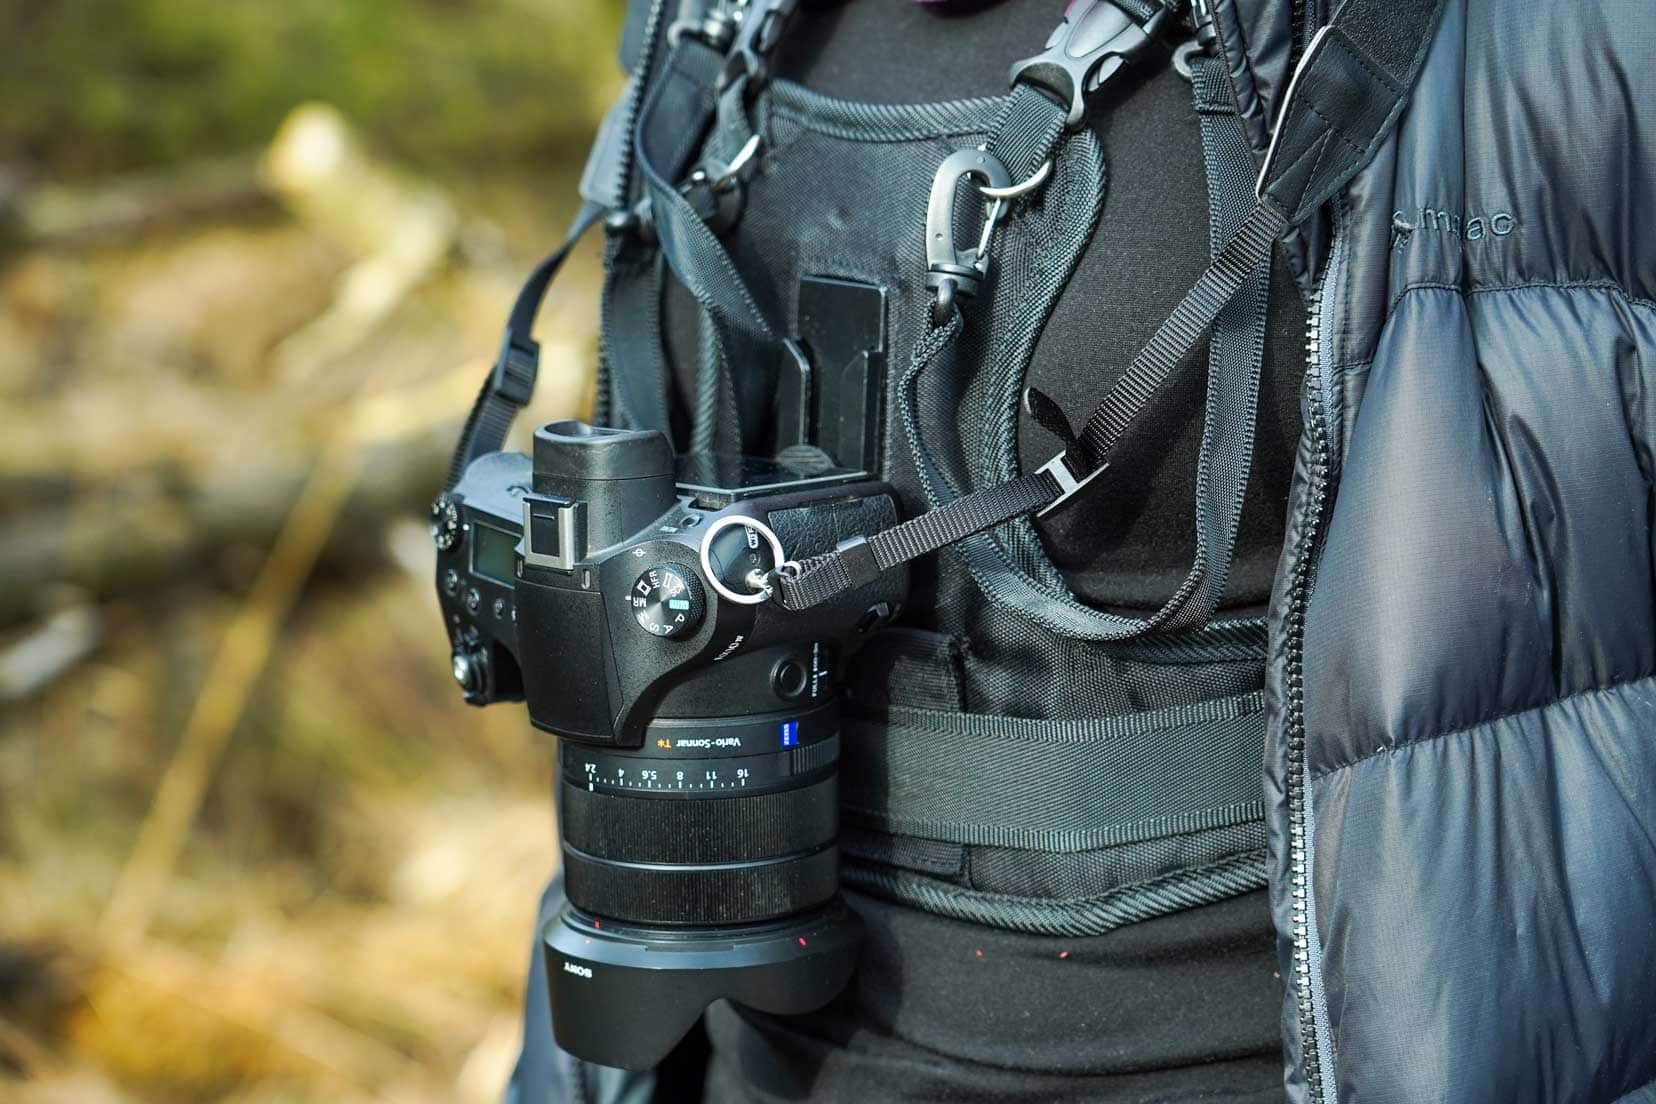
Peak Design Carrying Strap
I really like and use Peak Design carrying straps. The straps are comfortable, and we swap them between our cameras using the quick-release anchor link connectors.
I have the Peak Design Slide, a heavy-duty wide strap, but it is overkill for my uses and doesn’t fold into a ball, so it’s not the best travel option, unlike the more versatile Peak Design Slide Lite. With a narrower width, the Slide Lite is definitely my choice of Peak Design carry strap, which is especially comfortable for my wife.
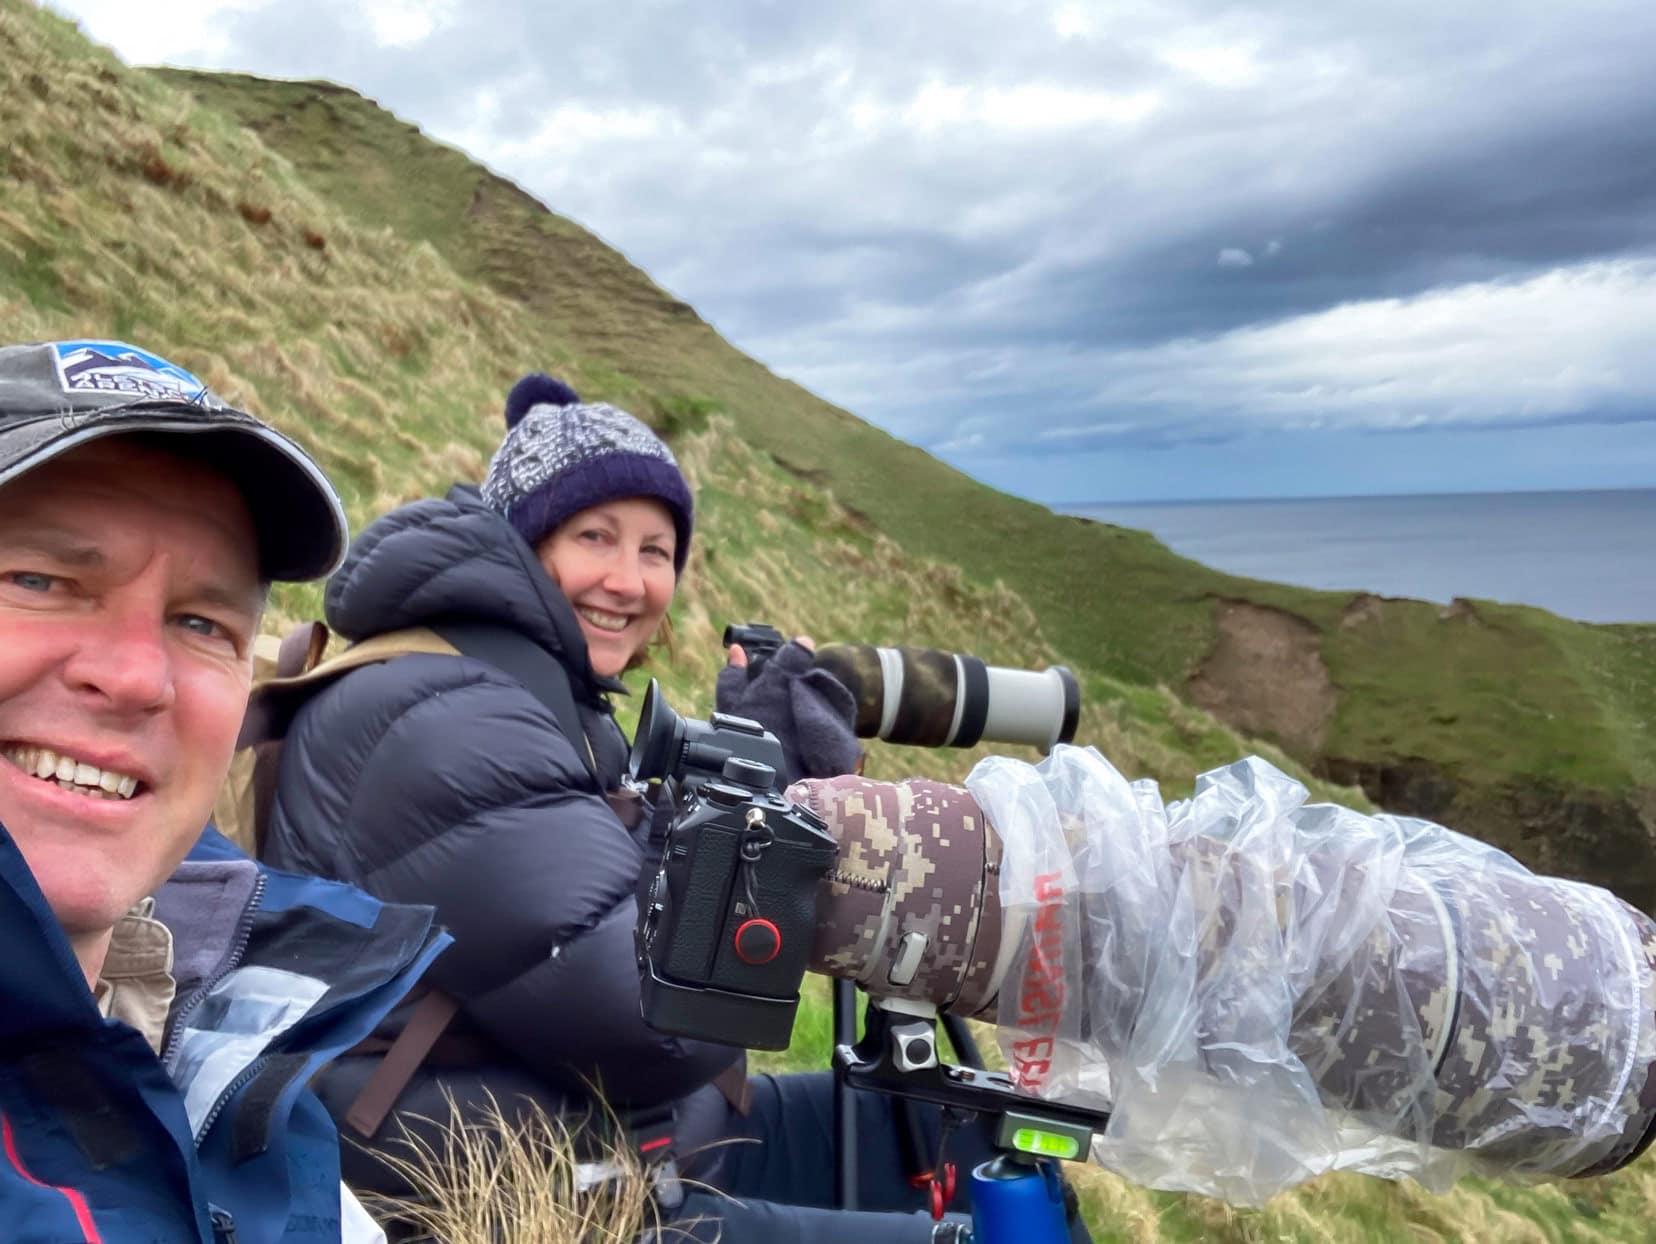
Optech Weather Protection Sleeve for Camera and Lens
The Optech rain sleeve offers different-sized rain sleeves, an effective, cheap camera and a lens protection option. This plastic sleeve is open at both ends, with one end using a drawcord to tighten the opening over the lens hood.
The camera eyecup can be removed and re-installed over the hood. Optech gear works really well.
Let me recall a memorable event. We were shooting Victoria Falls in Zimbabwe. A huge amount of fine spray settled on everything, but luckily, we had the foresight to use the Optech sleeves, which kept our camera gear dry. We were absolutely soaked, though.
Røde External Microphone
Cameras don’t have great microphones; however, this is easily resolved by attaching the small, externally mounted Røde VideoMicro shotgun microphone to the camera’s hot shoe.
The Rode microphone comes with a windshield that is not excessively big on the camera and doesn’t cause the camera to over-balance.
The sound output is fabulous, and the microphone is quite directional, which is perfect when you’re pointing the camera at a wildlife subject.
Also, the Rode VideoMicro doesn’t require batteries; simply plug into the camera’s video port. We’re fans of Røde.
Camera Cleaning & Maintenance
Air Blower
For me, the Giottos Rocket Air blower is king.
99% of the time, if I have dust spots on my lens or camera sensor, using the air blower will shift the offender. The Giottas Rocket Air blower has not let me down and is a must-have in any photographer’s travel gear bag.
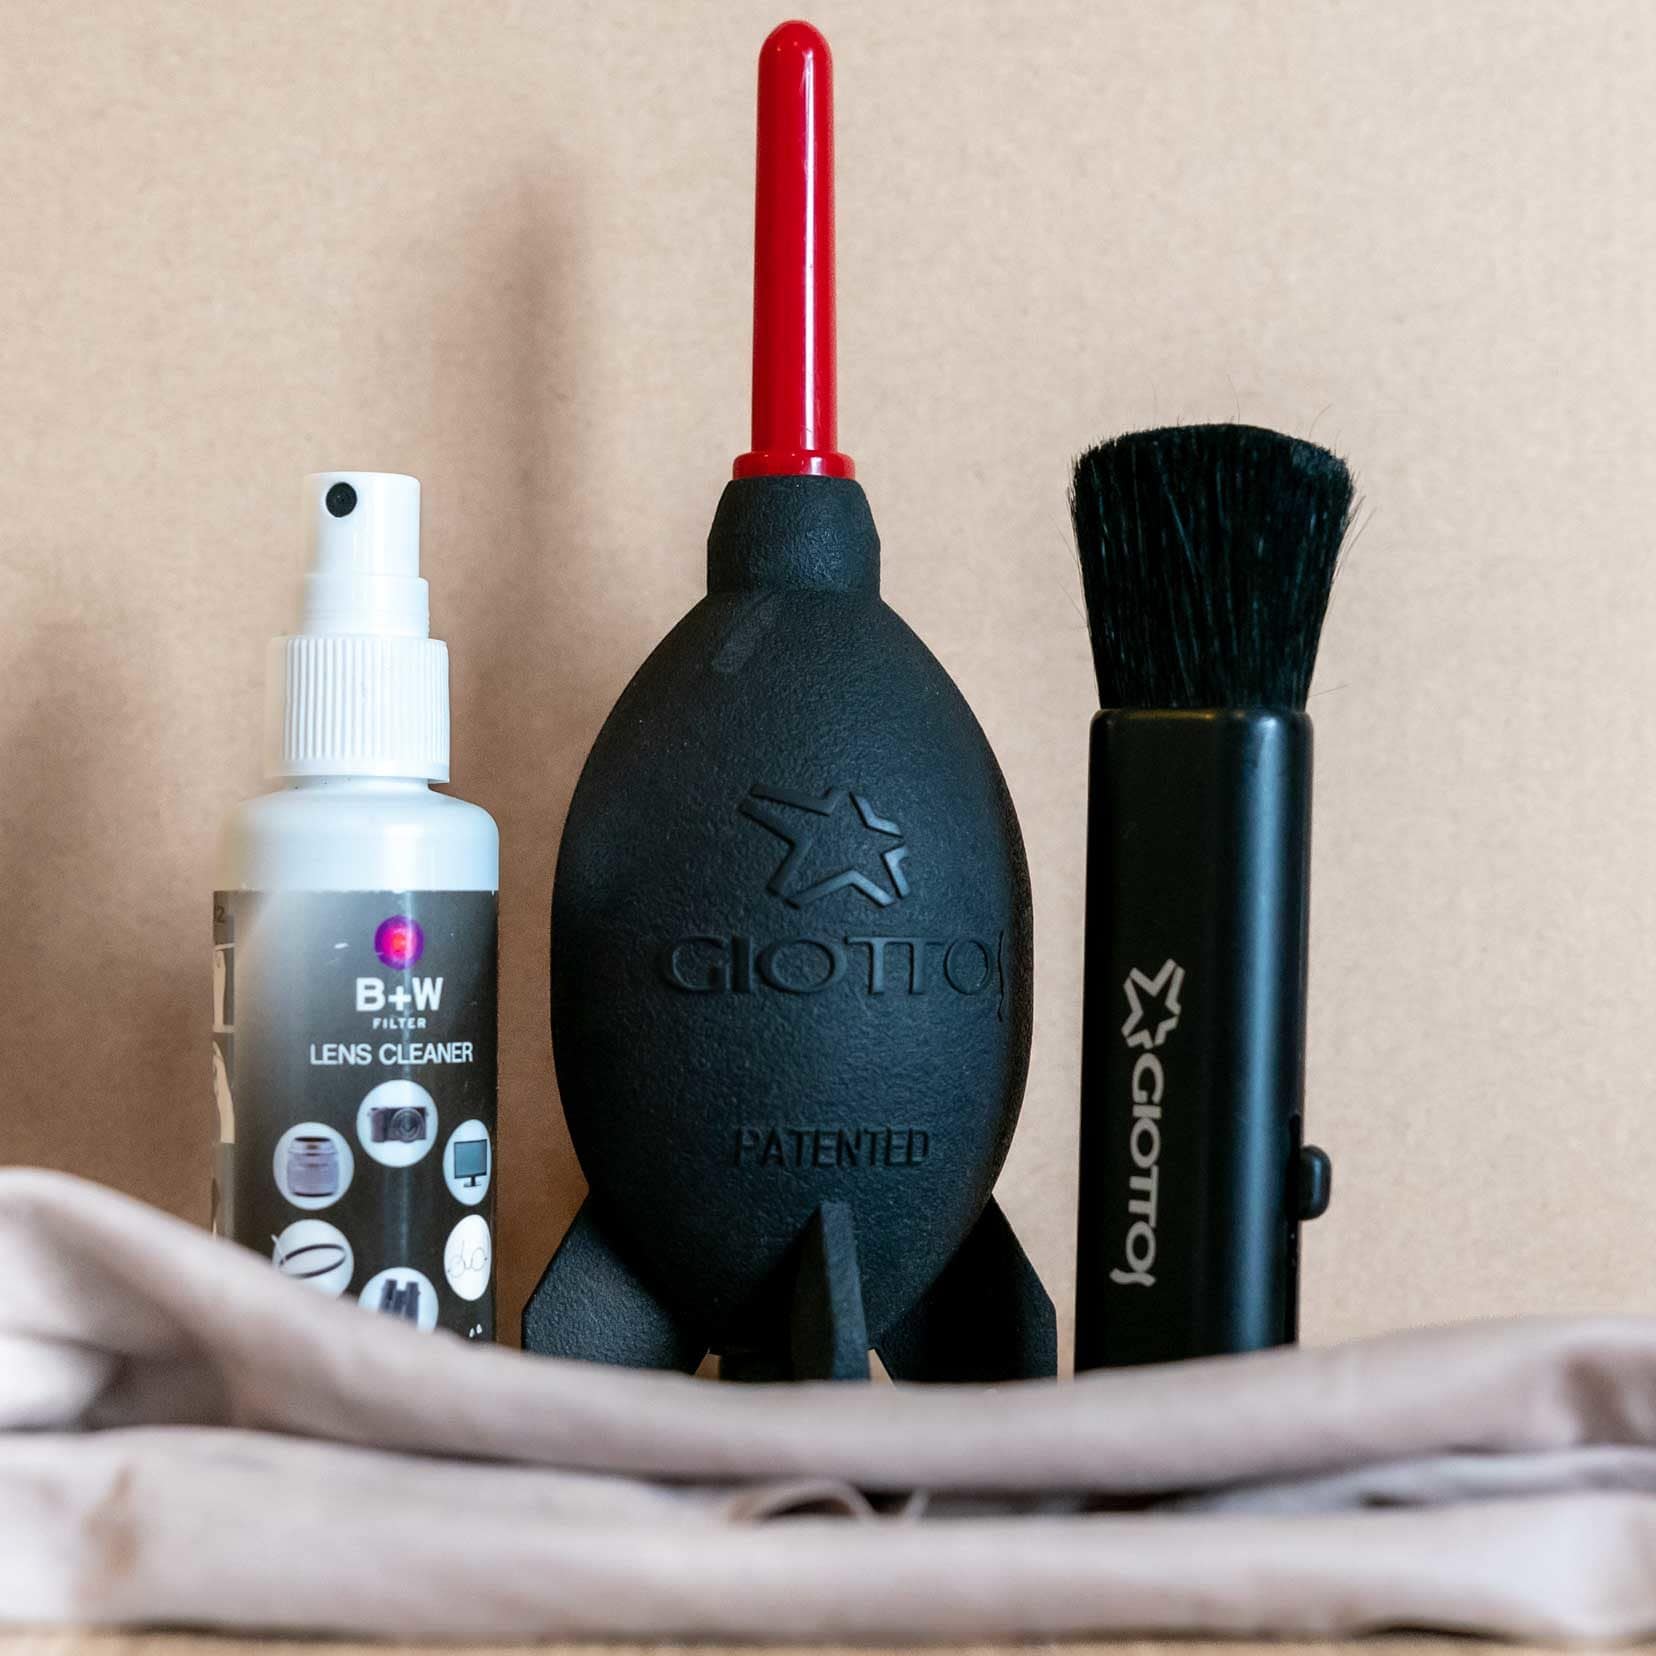
Microfibre Lens Cloths
I’ll keep quite a few microfibre cleaning cloths handy.
Some stay in the camera bag, some in my cleaning pouch, and one is always in my pocket. I always start the cleaning process by using the air blower and then move on to using the microfibre cloth sprayed with a quality lens cleaning solution.
Sensor Cleaning Stick
A sensor cleaning stick has a sticky end that is used to clean the camera sensor. In some cameras, the sensor can be locked; however, it depends on what camera you have. A moving sensor can be tricky to clean. If in doubt, take it to a camera store and let them clean.
Also, be mindful that if buying online products, there are many cheap ‘knock-offs’ that may tempt you. Carry out thorough checks beforehand and only buy legitimate products. The worst-case scenario is that you may incur camera damage, and you certainly don’t want that.
Photography Life markets its own product, which reads great.

How to Protect Your Photography Gear While Traveling
Use a Quality Camera Bag
Using a good quality camera bag to protect your photography from dust and moisture is super important. Ensure you look for camera bags that are inherently water-resistant or that come with a waterproof cover, like my Vanguard Alta Rise 48 Backpack.
Carry On the Essentials
We hand-carry much of our important camera gear during a flight. Sturdy equipment, such as tripods and filters in their protective cases, go into our check-in baggage. Sometimes, our backpack weights can be substantial.
However, that is just a small inconvenience, and you have peace of mind knowing your precious equipment is not being thrown around.
Regular Cleaning
Each day, at the end of a shoot, I clean our cameras and lenses. This keeps the gear in good condition, and shooting with a clean lens means less time spent later in post-processing, removing dust spots in the image.
Keep Your Camera Gear On You
A good-quality camera strap keeps your camera secure around your neck and prevents it from being dropped. Peak Design is our camera strap manufacturer of choice.
Hard Drive
We use two hard drives acting as a backup to the backup. This ensures all our digital photography and travel photos travel safely with us. On a daily basis, images are downloaded to the laptop and then onto the hard drives for safekeeping.
Photography Gear Insurance
It’s all good until it’s not. Travelling without photography gear insurance is a risk we’re unwilling to take.
After spending thousands of dollars on gear, I shopped around and settled on AON international camera equipment insurance. We always have this in addition to our normal travel insurance.
I’ve had to make some claims, and it’s been hassle-free.
Camera Equipment Portability and Durability
Some key points to consider for home-working travel camera gear.
Durability
You’ll want the camera and lens to be dust-proof and water-resistant. How will I know this? Read the manufacturer’s specifications on the equipment. Look for additional weather sealing on a lens, such as rubber gaskets.
Regardless of the weatherproof rating, covering up your equipment with an Optech rain sleeve will provide extra protection.
Portability
One of the most important aspects of travel photography is having all your gear portable. I’ve already mentioned the benefits of a mirrorless camera, yet there are other alternatives.
Suppose you don’t want to carry separate cameras and lenses. Then, these two that I recommend don’t require all the lens options, as they have fixed lenses. Note that neither comes with black-out-free shooting.
Compact Camera
I’d really recommend looking at either the pocket-sized Sony RX100 compact camera, model VI or VII, which has a handy equivalent focal range of 24mm to 200mm.
Hybrid Camera
Another option is the Sony RX10IV hybrid camera . Think of this as the big brother to the compact Sony RX100 camera. It is also lightweight, versatile, capable and packs a staggering 24 to 600mm equivalent focal range.
Shelley used the Sony RX10IV for quite some time and loved it for the same reasons. It has a smaller sensor than the Sony A9, but it is really worth considering, given its extra focal range over a compact camera.
Travel Photography Gear – That’s a Wrap
To wrap up, selecting the right travel photography gear is pivotal for capturing those epic moments during your journeys.
It’s about finding that perfect match between camera functionality and travel practicality.
Balance durability with portability to find equipment that not only travels well but also withstands the rigours of the road.
Here’s to great adventures and even greater photos!
Do you have travel photography gear that you won’t travel without? I’d really like to know about it – drop me a comment below.
Before You Go – Are You Planning Your Travels?
These are the travel resources we recommend and use when planning our trips.
- 🚘 Car Hire: We use DiscoverCars.com
- Motorhome/Campervan Rental: We highly recommend the Motorhome Republic
- 🪪 Order your International Driver’s Licence online here
- 🛏 Book Accommodation: We use Booking.com to find accommodation that suits our budget
- 🐶 Pet Sitting/Pet Sitters: Check Out TrustedHousesitters here (Use our Discount code: LIFEJOURNEY25 for 25% off. )
- Activities and Experiences: Get Your Guide and Viator
- Travel Insurance: Safetywing or World Nomads
- 🥾 Travel Gear and Accessories: Check out our top picks here — Lifejourney4two page on Amazon
For a more thorough list, visit our Travel Resources page here.