
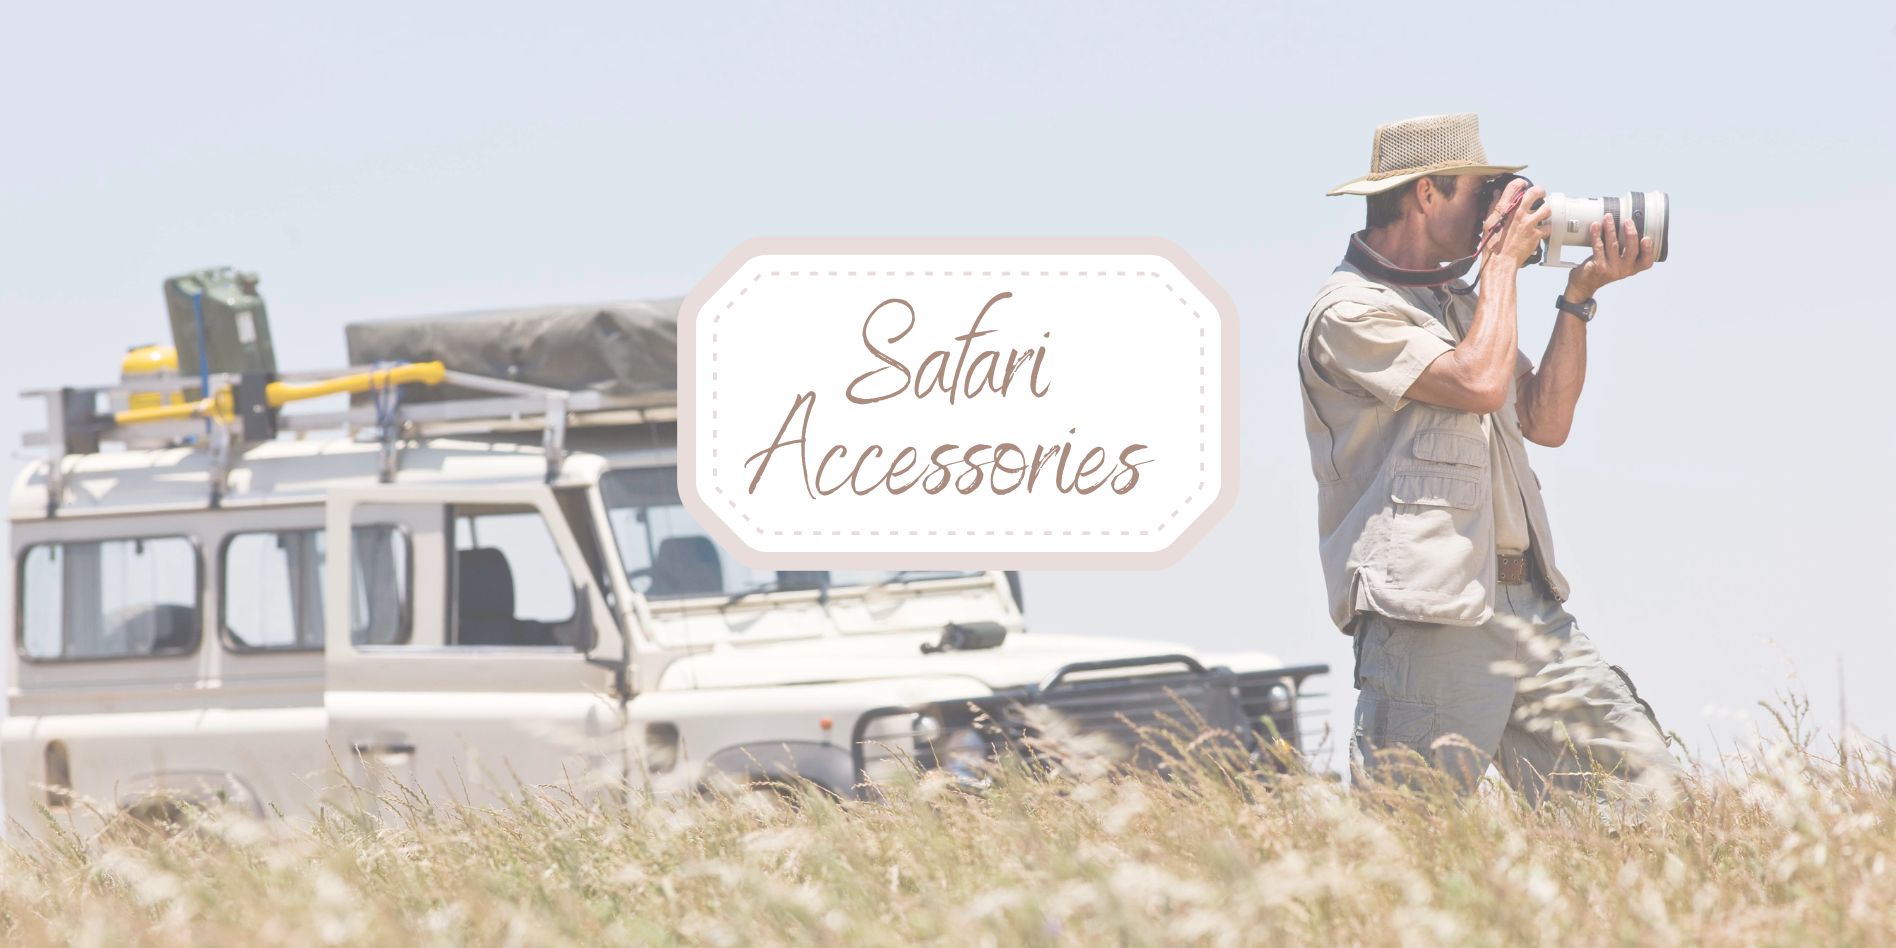
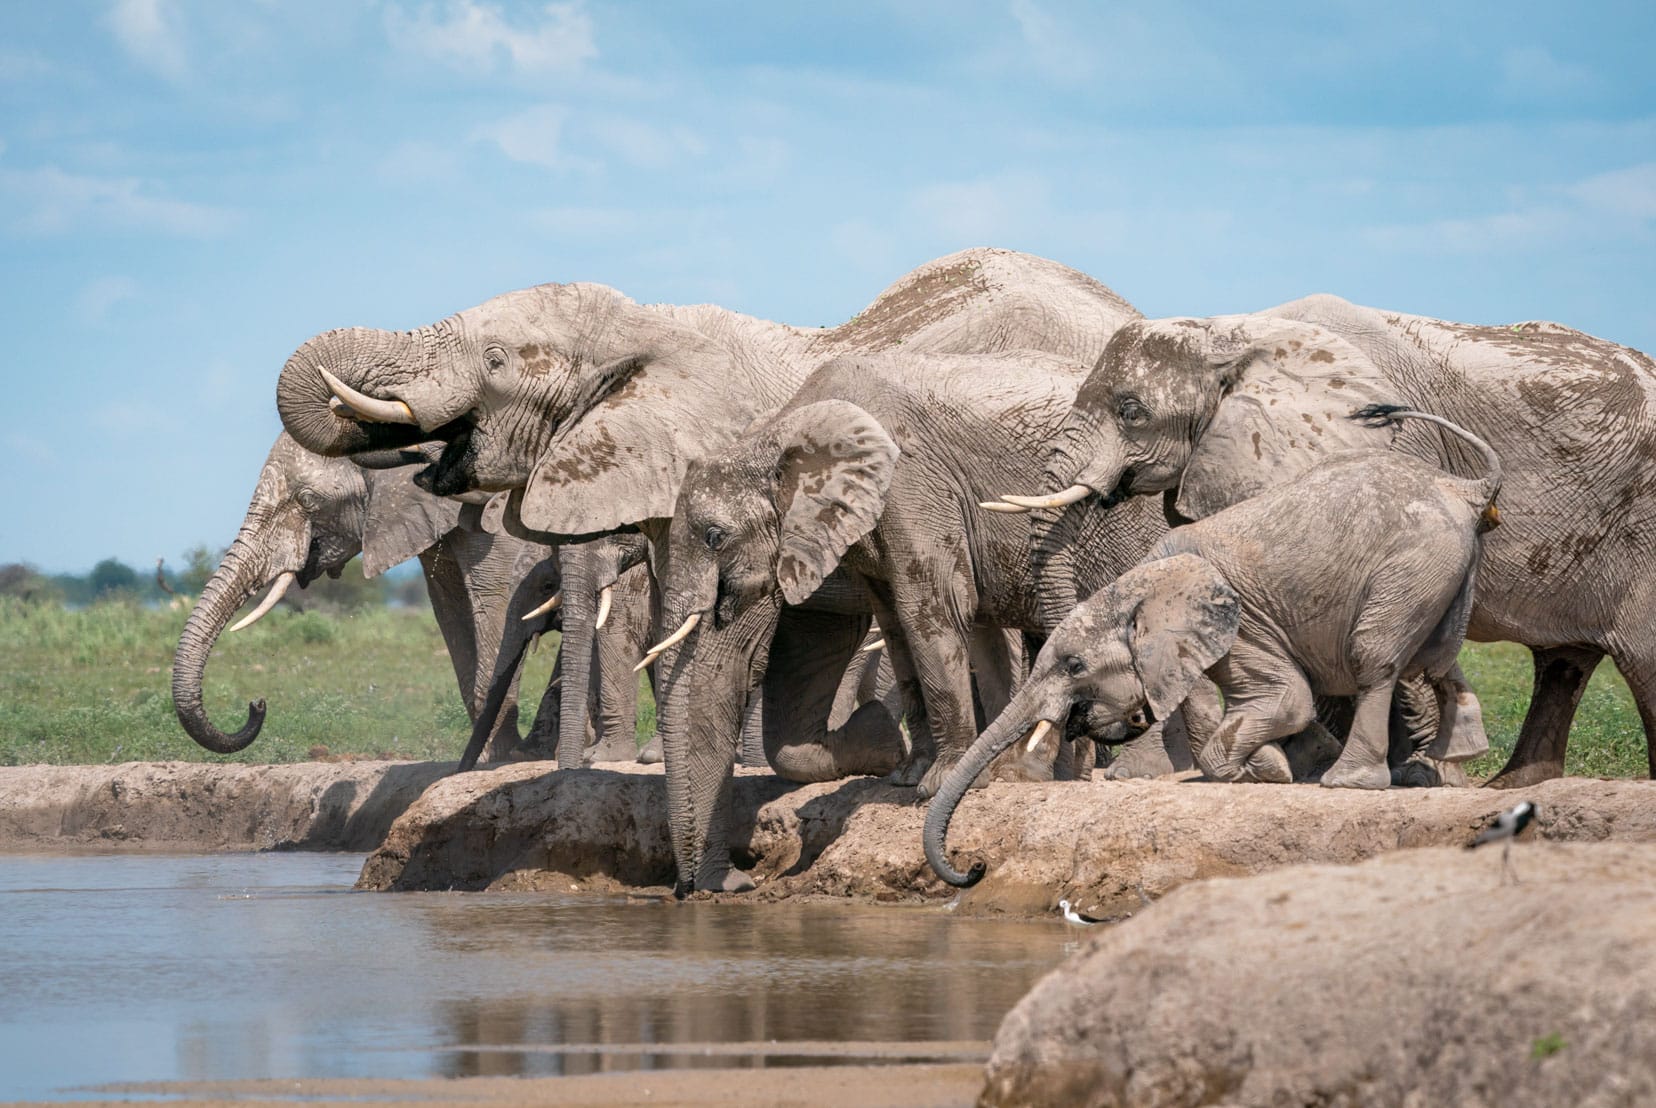
Embarking on a safari is an experience like no other. Travelling through breathtaking, untamed landscapes and enjoying thrilling, up-close encounters with majestic wildlife are part of the adventure.
To get the best out of an African safari, whether it’s a self-drive or guided tour, having the right safari accessories is essential. From ensuring your comfort and safety to enhancing your wildlife viewing experience, the right gear can make all the difference.
And that’s where we come in.
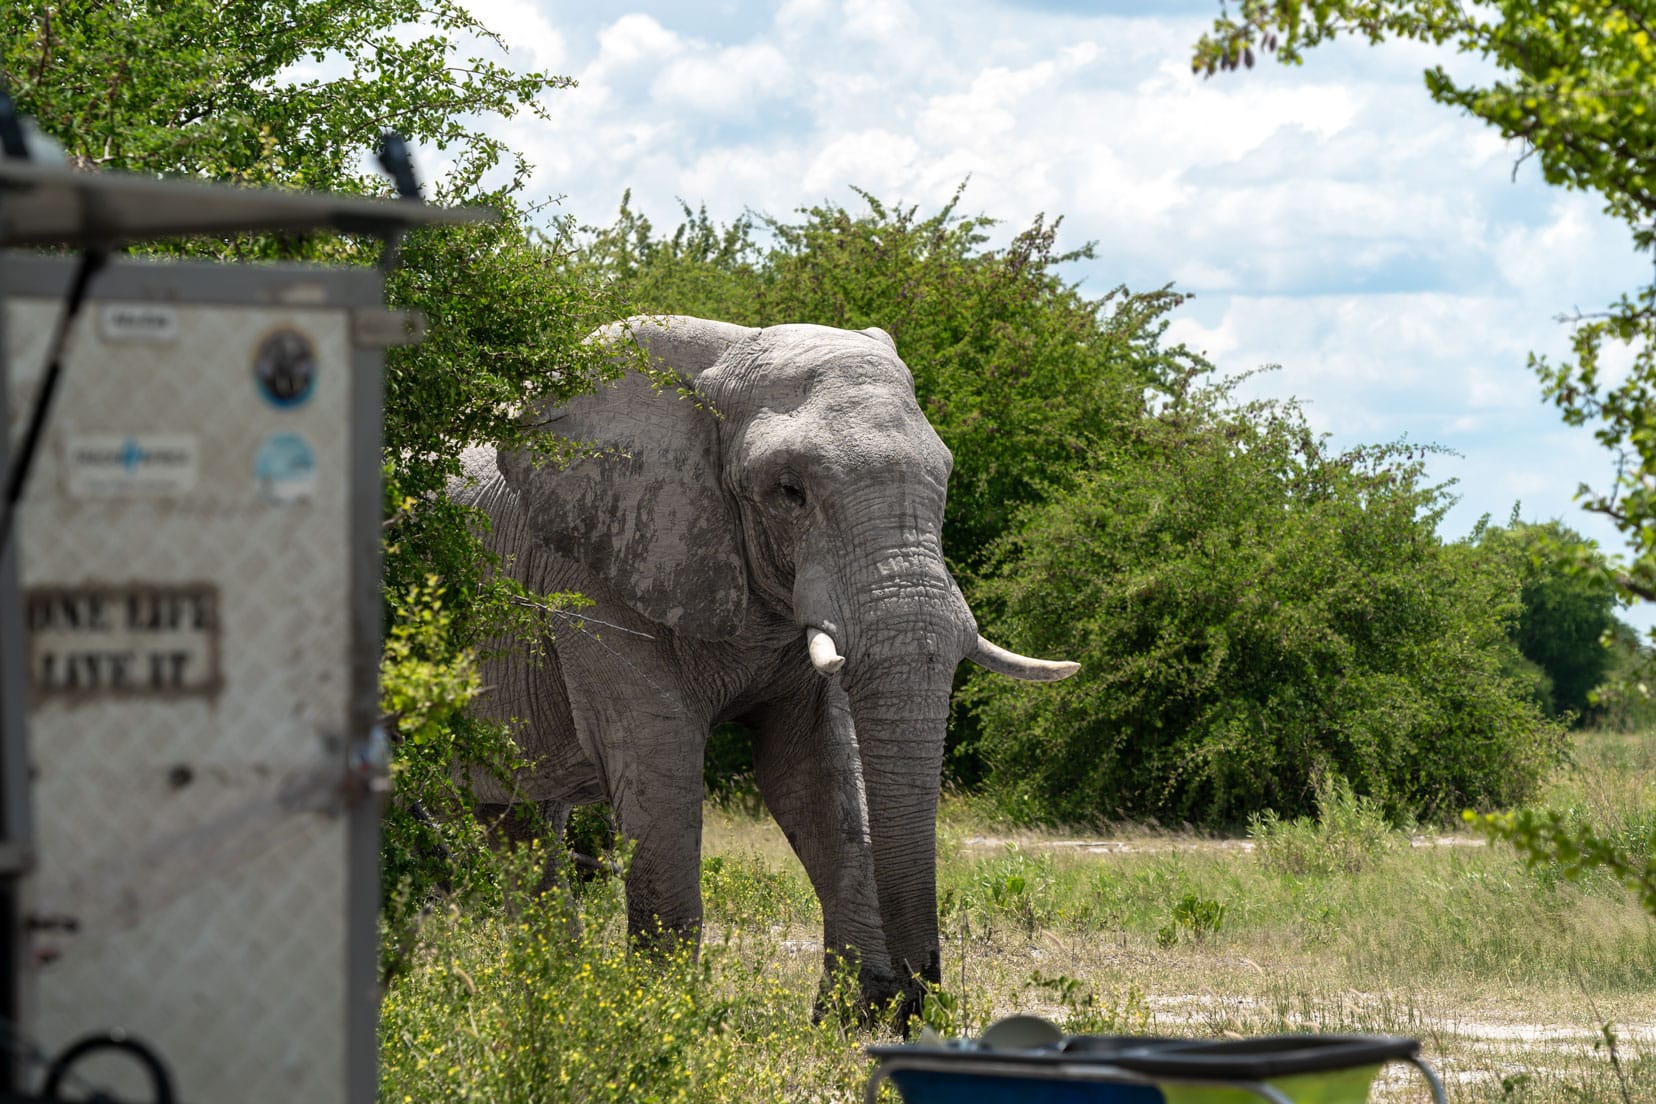
In 2020, we bought our Hilux 4×4 Bush Camper in South Africa and began our African overlanding adventure. This car, equipped with a rooftop tent, is now our home when travelling Africa, providing everything we need to travel off-grid on our own self-drive safaris.
Being off-grid means relying on our equipment, which must be functional and reliable. This post highlights our safari accessories and gadgets that we’ve found useful on our safaris.
We’ve road tripped as a couple together extensively throughout South Africa, Namibia and Botswana, enjoying a combo of guided, self-drive, riverboat and walking safaris.
So, we know a thing or two about the best safari essentials you’ll need.
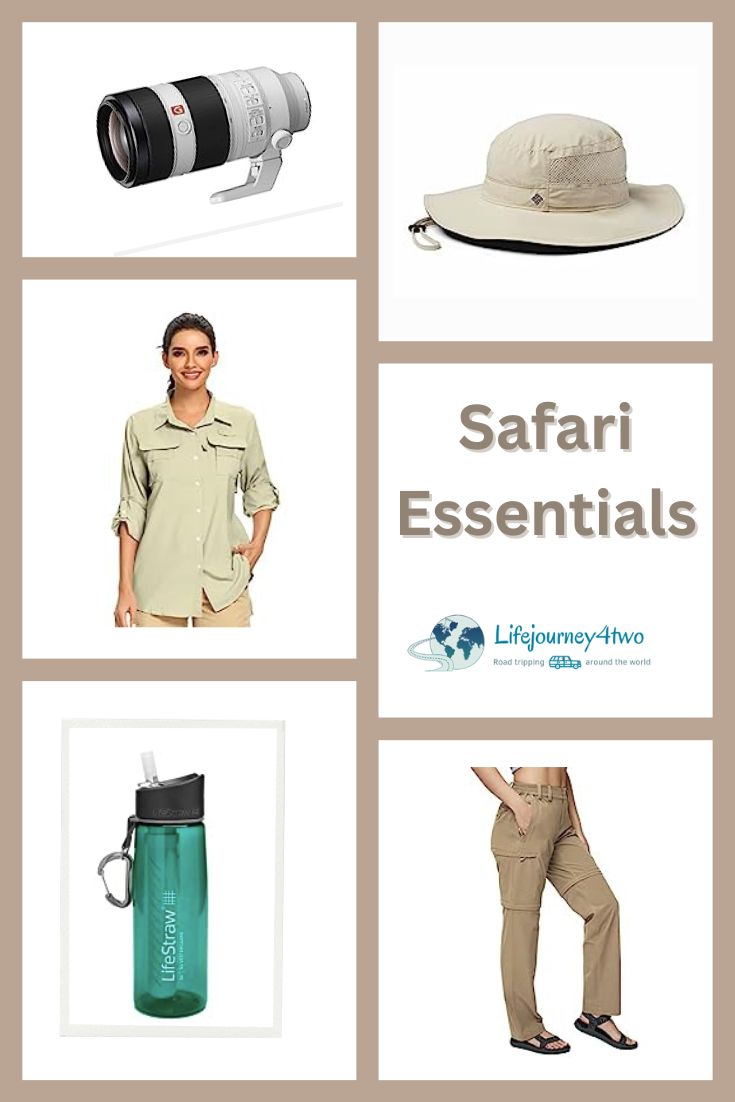
🐘 Overview: 15 Essential Safari Accessories and Gadgets
Whether you’re a seasoned adventurer or embarking on your first African safari, the right gear will significantly enhance your experience.
These practical accessories will make all the difference:
Safety and Comfort: Essential Safari Gear
- ▶️ Cooling Towels: Vital for dealing with the African heat.
- ▶️ Safari Hat: Protects from the harsh sun.
- ▶️ Men’s Convertible Safari Pants: Versatile and suitable for changing temperatures.
- ▶️ Women’s Convertible Safari Pants: Practical and comfortable for various activities.
- ▶️ Men’s Safari Shirt: Designed for comfort and breathability in warm climates.
- ▶️ Women’s Safari Shirt: Lightweight and quick-drying for optimal comfort.
- ▶️ Lifestraw Water Filter Bottle: Essential for ensuring safe drinking water.
Safari Exploration: Critical Tools
- ▶️ Vortex Optics Diamondback Binoculars: Crucial for spotting wildlife at a distance.
- ▶️ Safari Spotlight: Ideal for nighttime activities and spotting wildlife in the dark.
- ▶️ Headlamp: A hands-free light source, essential for early morning or late evening activities.
Capturing the Safari Experience
- ▶️ Vanguard Alta Rise 48 Camera Backpack: Protects and organizes gear, making it perfect for carrying heavy photography equipment.
- ▶️ Peak Design Carry Strap: A secure and stylish way to carry your camera, providing quick access and comfort.
- ▶️ Sony RX10iv (Hybrid Camera): Great for those new to photography but wanting quality shots, offering versatility without the need for multiple lenses.
Navigation App
- ▶️ Tracks4Africa Guide App: Essential for navigating remote safari routes, providing reliable maps and local insights.
Personal Hygiene Essentials
- ▶️ Female Urinary Device: Provides convenience and hygiene for women in the wild.
🦒 15 Best Safari Accessories and Safari Gadgets
Here, you’ll find practical and essential accessories and gadgets for any safari – trust us, we’ve done more than just a few.
1. CoolingTowels
✅ Why do we like them? Cheap but super-effective product. They come in different colours, ensuring we don’t share the same towel. Just add water.
Our cooling towels, which are more like scarves, have been one of our greatest saviours in helping us combat the African summer heat. They pack small and are wonderfully functional travel safari accessories.
These little lifesavers are your own portable air conditioners, which can be worn or kept in your pocket until needed.
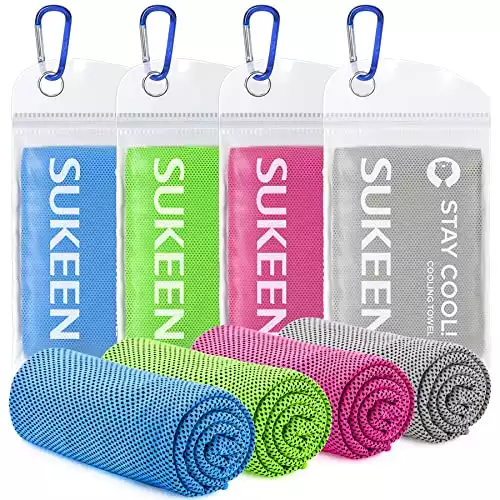
Rating: 4.5*/5. The hyper-evaporative breathable mesh material makes it easy to activate the chilling towel by simply soaking, wringing out, and snapping it. The unique cooling system uses moisture from the towel to draw sweat away from your skin, keeping you cool.
2. Safari Hat
✅ Why do we like it? The fabric is UPF-protected and moisture-wicking; it has a vented bucket with a drawstring on the bucket and the hat; and a wide 3″ brim.
Without face protection, Summer or Winter, the African sun will burn your face. It’s not at all uncommon to have to sit in an unshaded safari vehicle in the beating sun, waiting for a sighting.
Columbia’s safari hat is unisex and available in many different colours.
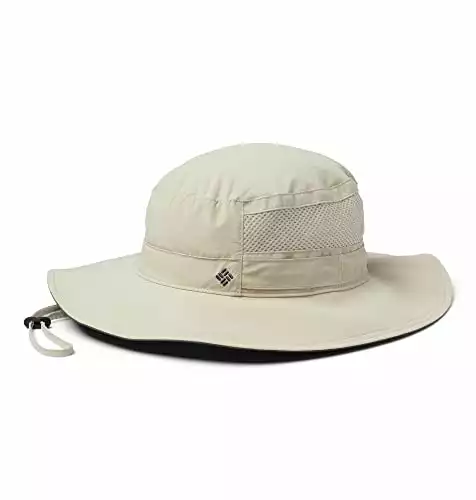
Rating: 4.6*/5. With a built-in UPF 50 shielding, an ultra-sweat-wicking headband, and a mesh vent panel for those hot outdoor days.
Has a full 3” brim, equipped with an adjustable drawcord and toggle size adjustment on the bucket, for a perfect fit.
Omni-Shade materials block UVA and UVB. One Size.
3. Men’s Safari Pants
✅ Why do we like them? The fabric is rated UPF 50, pants/shorts combo; elastic waist with plenty of pockets for other gear.
You get a two-in-one combo with zip-off legs. This helps to minimise what you need to pack.
These Jessie Kidden convertible pants are a quick-drying, straight-leg design providing a loose fit and boasts 6 pockets. Great for a Summer in Africa and comes in several colours.
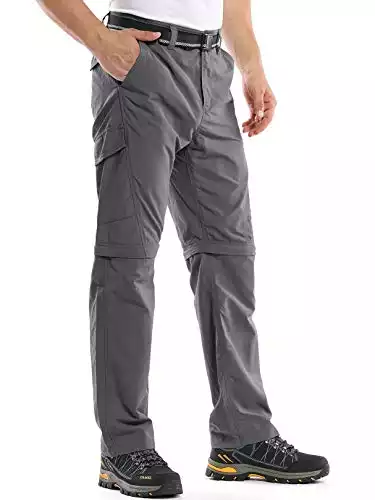
Rating: 4.1*/5. Comfort fit with part elastic waist for many body types. Water-repellent, wear-resistant, straight leg design for comfort and looseness, which can adapt to the big movements without tearing.
Zip-off legs; 2-in-1 pants. Multi pockets with hook & loop for your belongings, two slant pockets, two thigh pockets and two back pockets.
UPF 50 fabric for maximum protection against the sun, and Omni-Wick technology that pulls moisture away to keep you cool and dry.
4. Women’s Safari Pants
✅ Why do we like them? Convertible pants/shorts combo with 6 pockets; moisture-wicking and stretch fabric for added comfort.
MIER Women’s Safari Cargo Convertible Pants are lightweight, have six pockets, are quick-drying, and are water—and rip-resistant. The pants have an elastic waistband and are available in several colours.
Not only do they convert to shorts, but you can do it without removing your shoes. This two-in-one combo minimises packing when travelling.
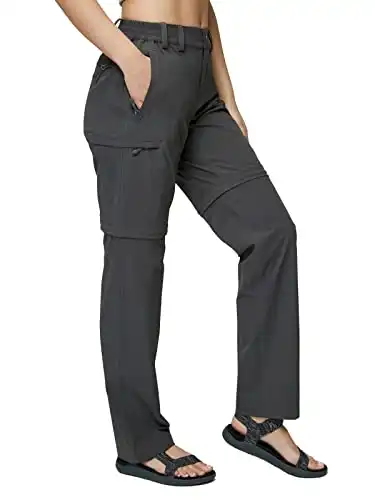
Rating: 4.5*/5. MIER hiking pants are lightweight, water resistant, moisture wicking and soft against the skin. Turns into shorts without having to remove your shoes.
6 Multifunction YKK Zipper Pockets; Abrasion Resistant.
5. Men’s Safari Shirt
✅ Why do we like them? The fabric is UPF50 sun protected, has button-up sleeves, and is moisture-wicking.
This sun shirt by 33,000 ft comes in many different colours and has button-up sleeves. It ticks all the boxes for a Summer shirt: it is UPF50, moisture-wicking, breathable, and lightweight.
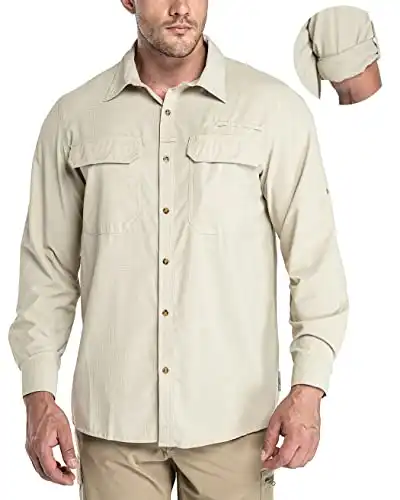
Rating: 4.4*/5. UPF50+ Sun Protection; Breathable & Quick Dry; Water-resistant & Wrinkle Free; Roll-Up Sleeve;
6. Women’s Safari Shirt
✅ Why do we like them? It has a UPF50 sun-protection rating, is moisture-wicking and has roll-up sleeves.
This versatile Jessie Kidden safari shirt is offered in various complementary colours and is a quick-drying shirt. Rated to UPF 50+, it has a classic casual fit that promotes moisture-wicking.
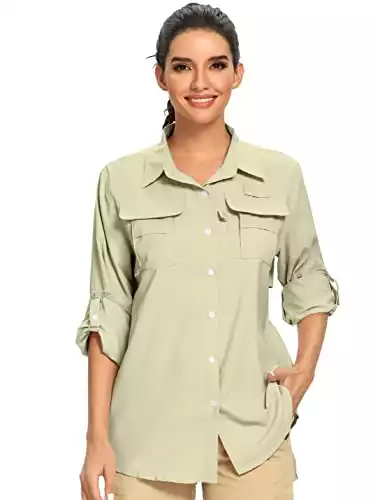
Rating: 4.3*/5. UPF 50 fabric; ultra-light; Omni-Wick technology; two chest pockets; Roll-up sleeves;
7. Lifestraw Water Filter Bottle
✅ Why do we like it? The Lifestraw membrane microfilter protects against 99.999999% Bacteria (including E.coli + Salmonella), 99.999% Parasites (including Giardia and Cryptosporidium), 99.999% Microplastics, sand, dirt, and cloudiness.
To prevent stomach bugs from contaminated water in Africa, we use our Lifestraw water filtration bottles. The BPA-Free bottle has a membrane microfilter that lasts up to 1,000 gal (4,000 L) equating to about five years of daily use.
The carbon filter, which reduces the chlorine, odours and organic chemical matter, lasts up to 26 gallons (100 L) roughly two months.
This provides peace of mind, knowing that you are doing your best for your health. It comes in a handy 1-litre container.
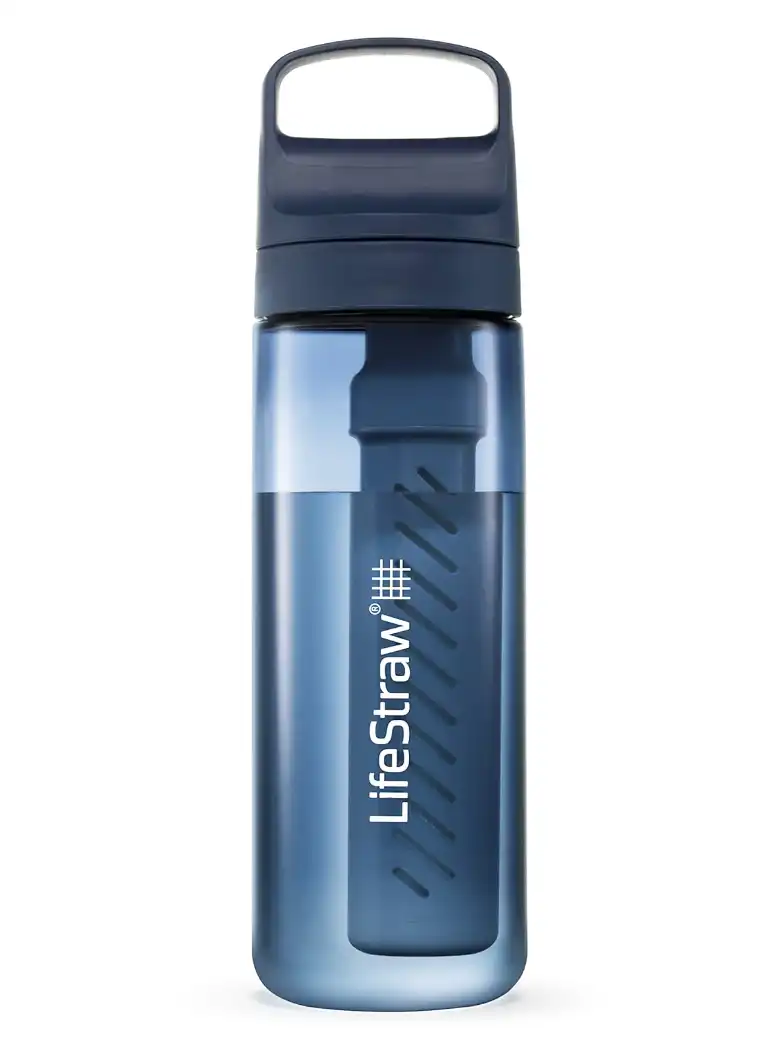
Rating: 4.4*/5. BPA-Free bottle; dual filter system: Carbon filter lasts around 2 months or 52 gal (200l); membrane microfilter lasts up to 1,000 gal (4,000 L) - about five years of daily use.
8. Binoculars: Vortex Optics Diamondback 10 x 42
✅ Why do we like them? They have an unlimited, unconditional lifetime warranty (now that’s saying something), are value for money, have a roof prism, and are waterproof and fogproof.
Having good-quality binoculars is easily the most important safari accessory you need. You’ll need them to spot the elusive and often distant animals.
Binoculars allow you to observe an animal’s behaviour from a distance, knowing it won’t feel threatened by you needing to be up close. The Vortex Diamondback binoculars are perfect for this.
Why 10 x 42?
The magnification value ’10’ strikes a good balance between adequate zoom and acceptable stability when viewing a distant target. When I say acceptable stability, I mean that even though hand-holding naturally induces movement, you don’t lose the subject when viewing.
Of course, if you’re a bit shaky, then 8x magnification may work better, and you could also mount them on a tripod or monopod for improved stability. Finally, there is the option of a binocular with image stability; however, this type is expensive, and many do not have fog or waterproofing capability.
The objective diameter, ’42’, is the front lens diameter in mm. The larger this value, the more light can enter, however, at the expense of adding bulk and weight. This makes it a more cumbersome travel item. A ’42’ is a good all-round achiever.
Included in the sale is the binocular case, carrying straps, eye-piece cover, and objective lens cover.
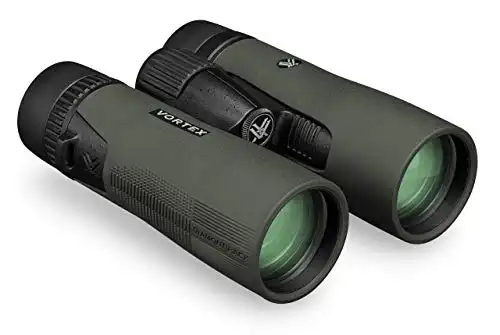
Rating: 4.8*/5. Fully multi-coated lenses; Exterior Armortek coating; Adjustable eyecups with diopter; Argon purged; waterproof and fog proof; Unlimited, unconditional, lifetime warranty.
9. Safari Spotlight – Handheld
✅ Why do we like it? Rechargeable, pocket-sized, 5 selectable brightness options and waterproof.
This value-for-money torch has all the features you’ll need when on safari: it’s portable, bright, rechargeable, and waterproof. Everything you need.
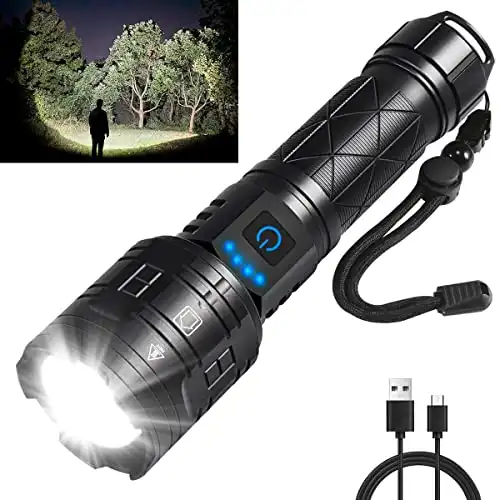
Rating: 4.5*/5. Fast-charging Type-C port; 5 Mode Flash Light: floodlight and spotlight options; IP67 waterproof; Produces up to 950,000 lumens brightness; one-year replacement policy.
10. Headlamp
✅ Why do we like them? Rechargeable and cost-effective.
This fabulous LED headlamp is all you need for around camp. With a beam throw of 50m, it’s plenty to light up the immediate area.
With multiple brightness settings, you select what works for you.
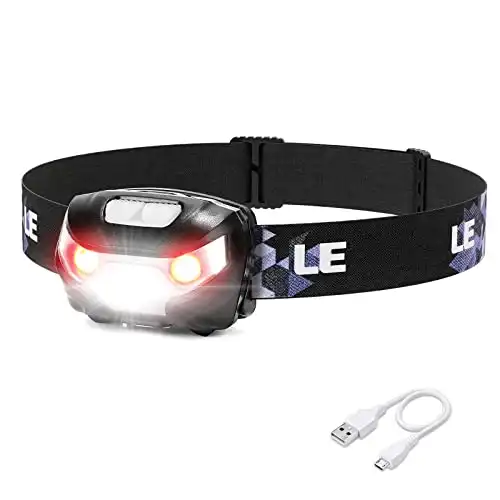
Rating: 4.6*/5. Super Bright & 5 Light Modes; USB Rechargeable; Lightweight & Comfortable; IPX4 Waterproof.
11. Vanguard Alta Rise 48 Camera Backpack
✅ Why do we like it? It’s a comfortable padded backpack that stores a lot of camera gear, has plenty of pockets for accessories and can attach a tripod.
The Vanguard Alta Rise 48 Backpack has securing straps on both the waist and chest, keeping the backpack steady when loaded. The interior has adjustable Velcro partitions arranged to suit the equipment you carry.
To give an idea of size, I can store my longest lens, the Sony 200-600mm, whilst mounted to my camera with the lens hood reversed. As standard, I also carry a second camera with lens and four other lenses plus filters and cleaning equipment.
The Vanguard Alta Rise 48 includes a waterproof cover and a side pocket to hold a water bottle.
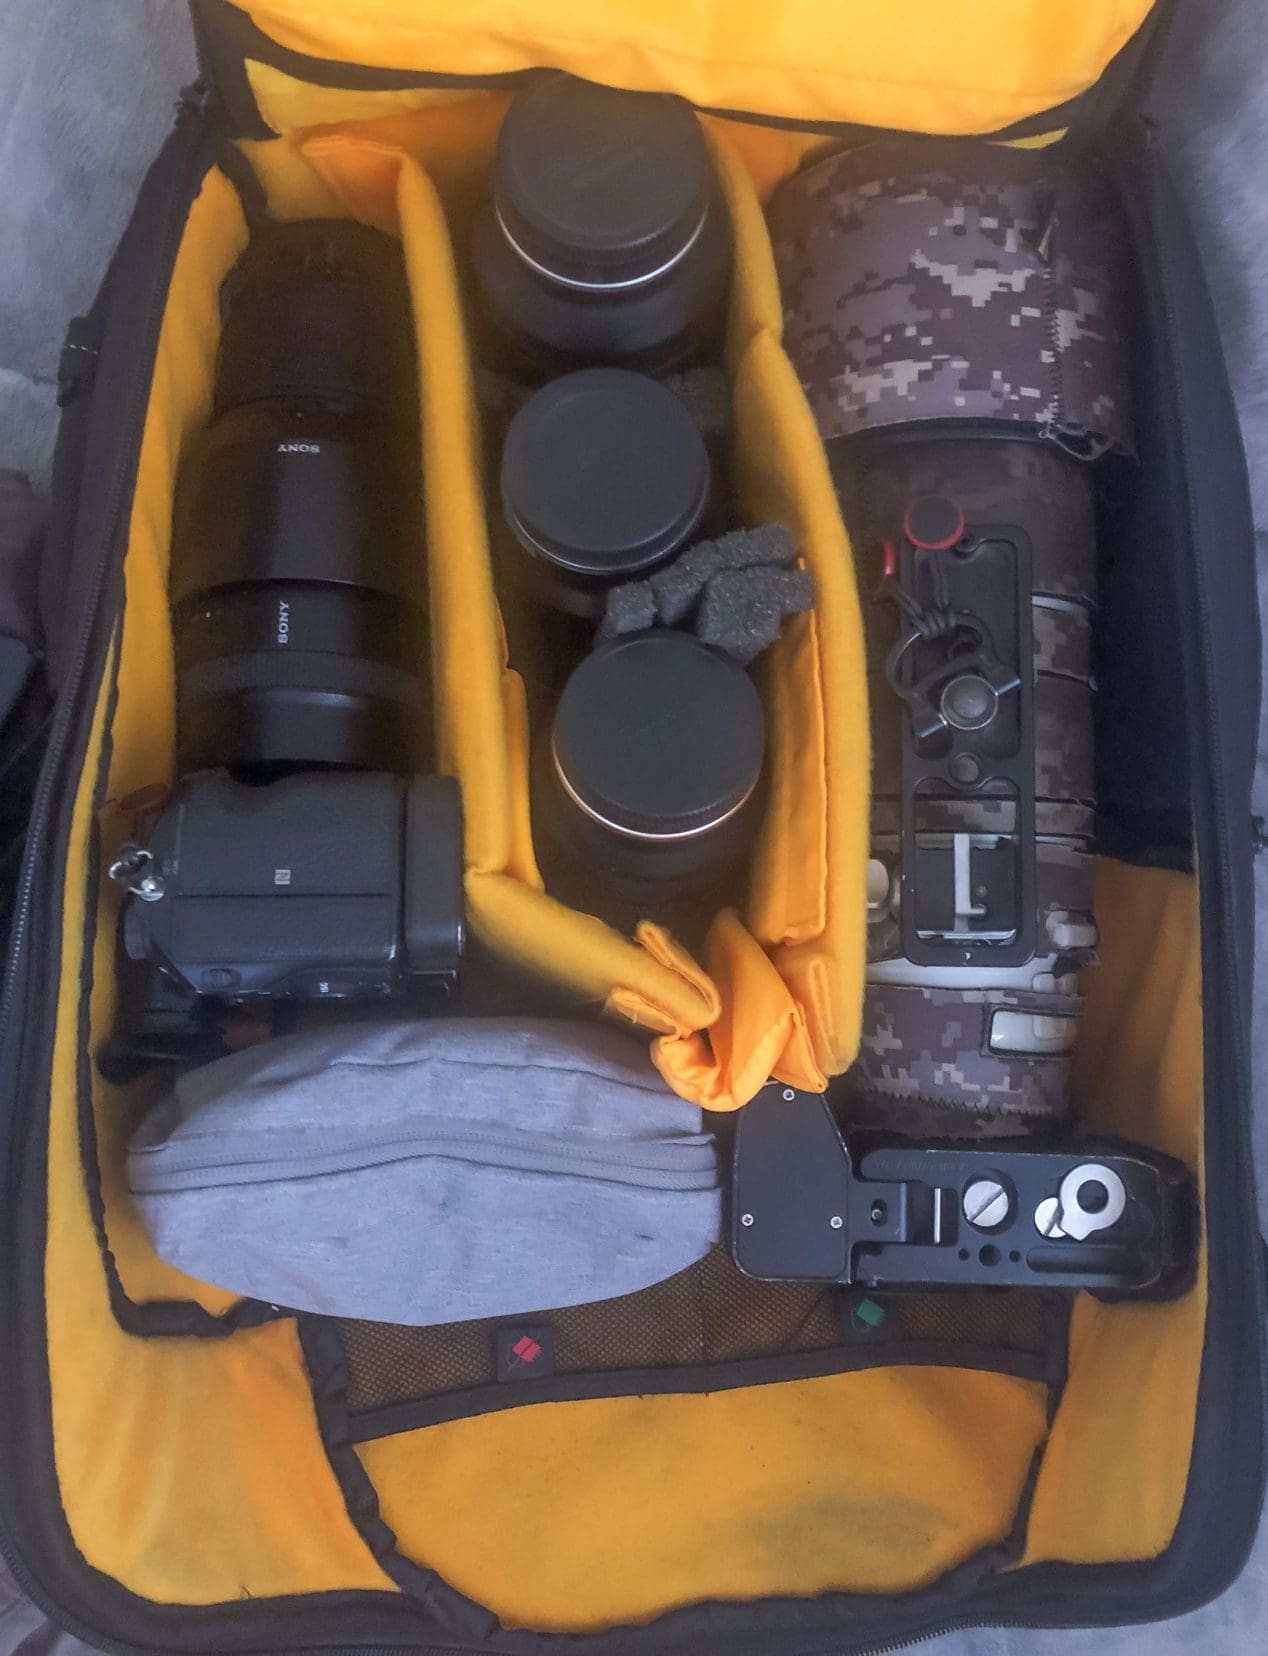
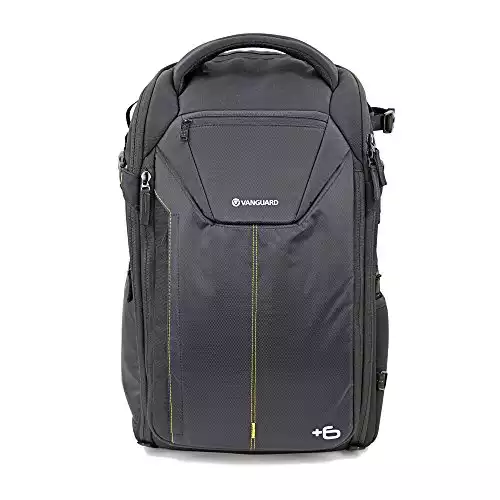
Rating: 4.4*/5. This bag has a tripod carrying system with side access. It holds a 15" laptop and has a 27-liter capacity. Importantly, it has an ergonomic air system back and harness, which is great for hiking. Interior dimensions: 11.75 x 7.5 x 18.9"; it includes a waterproof cover.
12. Peak Design Camera Carrying Straps
✅ Why do we like them? The Peak Design straps have a significant load rating, comfortable to wear and include anchor connectors in the sale.
The Peak Design straps are solidly made and have a non-slip side. We have the Slide and Slide Lite models; however, we recommend choosing the Slide Lite. Why?
The Slide Lite is more travel-friendly and can be wrapped into a ball, whereas the Slide can only be folded on itself in 25cm lengths. Even though the Slide Lite is narrower, it is still very comfortable.
The sale includes four anchor connectors, an anchor mount, a small Allen key, and a carry bag.
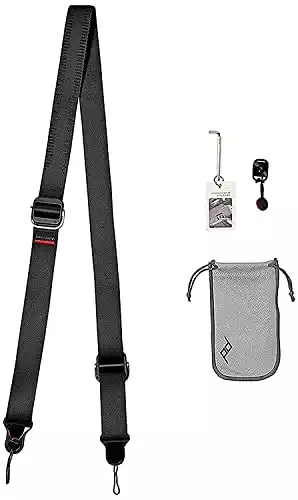
Rating: 4.8*/5. The Peak Design strap has dual aluminium quick-adjusters and is rated to 200 lbs (90 kg). Included are 4 x anchor mounts, Allen key and anchor mount.
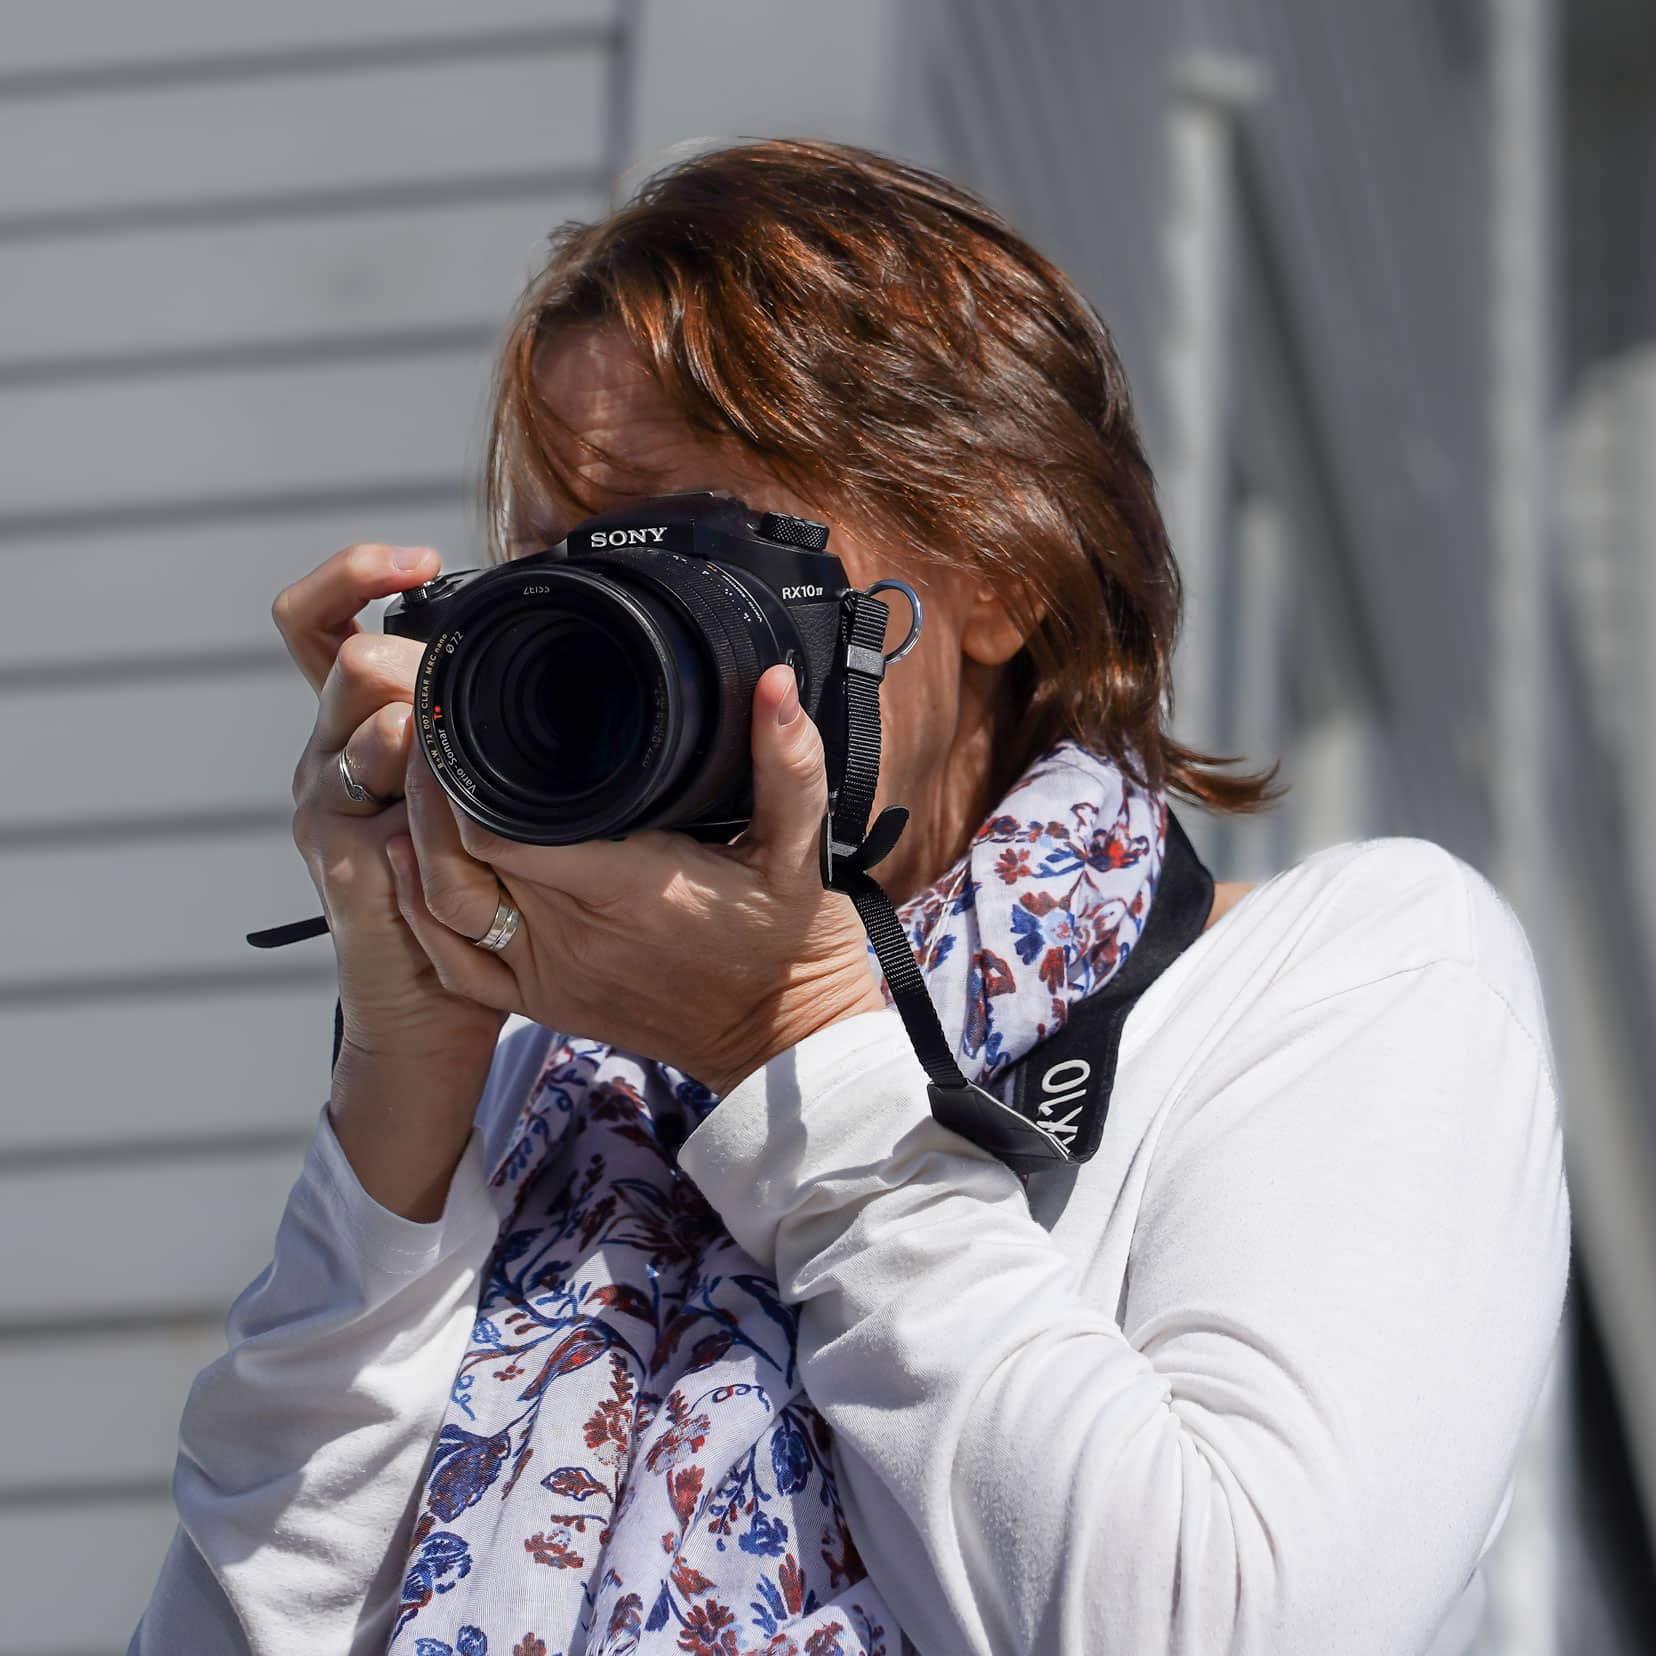
13. Sony RX10iv (Hybrid Camera)
✅ Why do we like it? It is lightweight and has an integrated lens with a great zoom range. The sensor has 315 auto-focus points and a fast auto-focus lock.
This all-in-one Sony RX10iv has a versatile 24-600mm zoom range and shoots at a maximum of 24 frames/second. The Zeiss lens can be used for both wide and distant shots, making it a one-stop shop camera for any safari.
A big advantage of this camera is that it does not require different lenses due to its integrated lens. With in-built camera stabilisation, super fast 0.03s auto-focus speed and light weight, it also makes a perfect travel camera.
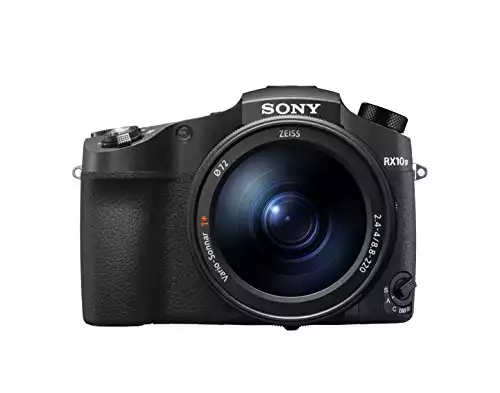
Rating: 4.5*/5. Optical image stabilization; ZEISS Vario-Sonnar T 24-600mm3 F2.4-F4 ultra-zoom Lens; 20.1 MP 1" back Illuminated Exmor RS stacked CMOS sensor; 2 pounds 6 ounces or 1 kg weight;
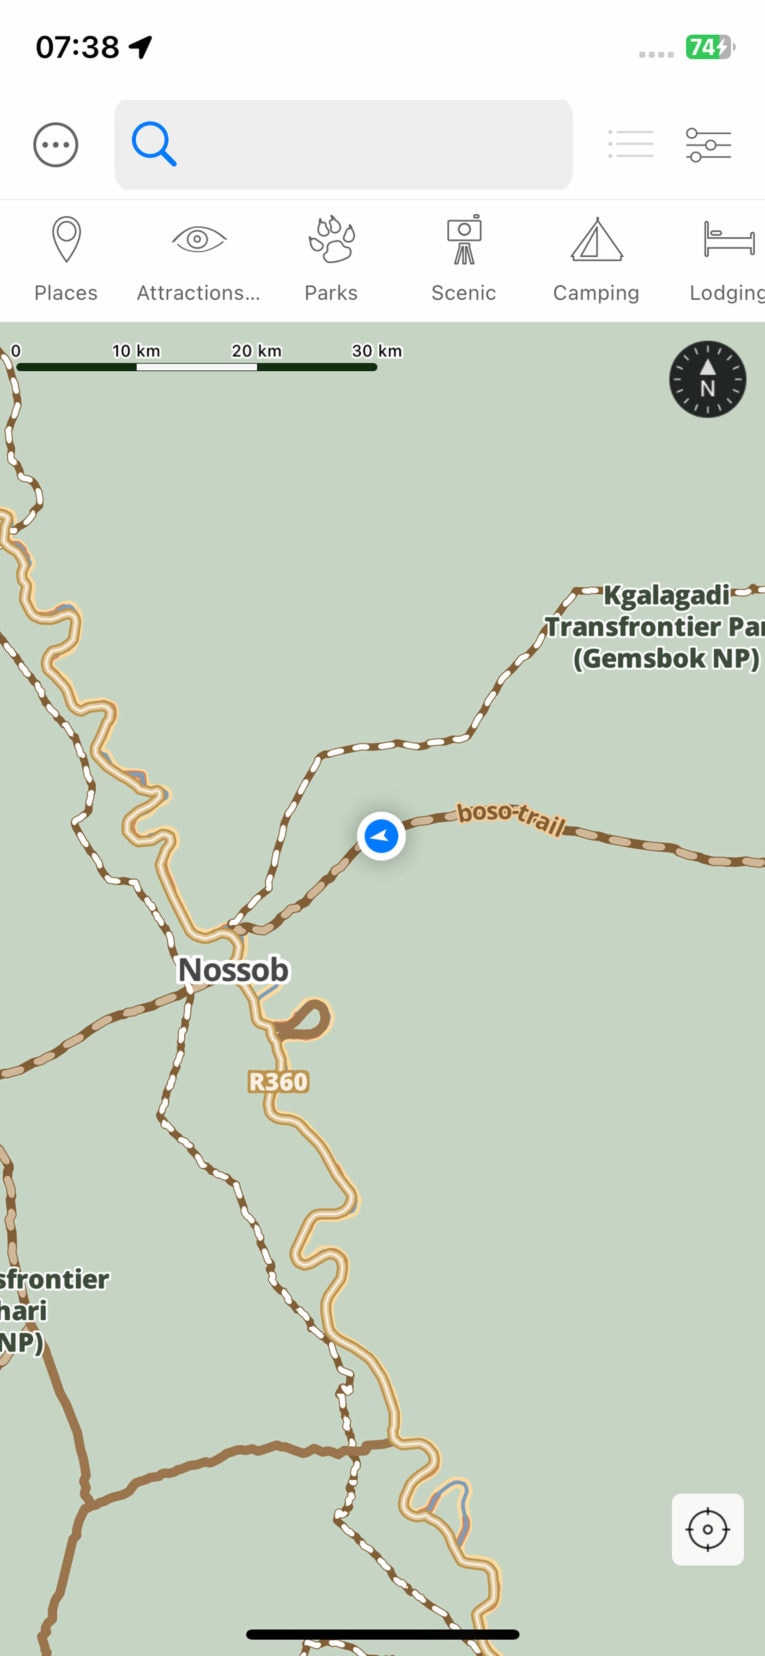
14. Tracks4Africa Guide App
✅ Why do we like it? The Tracks4Africa guide app displays off-road routes along with important information such as campsite location, fuel stops, attractions and much more.
The Tracks4Africa app uses a GPS signal to provide a real-time position. This works especially well when an active mobile network signal is not available.
Google Maps doesn’t provide this type of comprehensive information. The Tracks4Africa guide app is compatible with both Apple and Android devices.
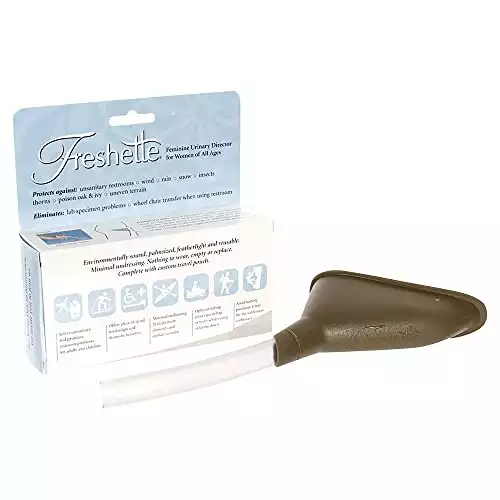
15. Freshette – A Female Urinary Device
✅ Why do we like it? This is simply the best of all the urinary devices my wife Shelley has tried, making camping life so much easier and bush-wees a breeze.
The Freshette is basically a pee funnel that allows you privacy whilst taking care of business.
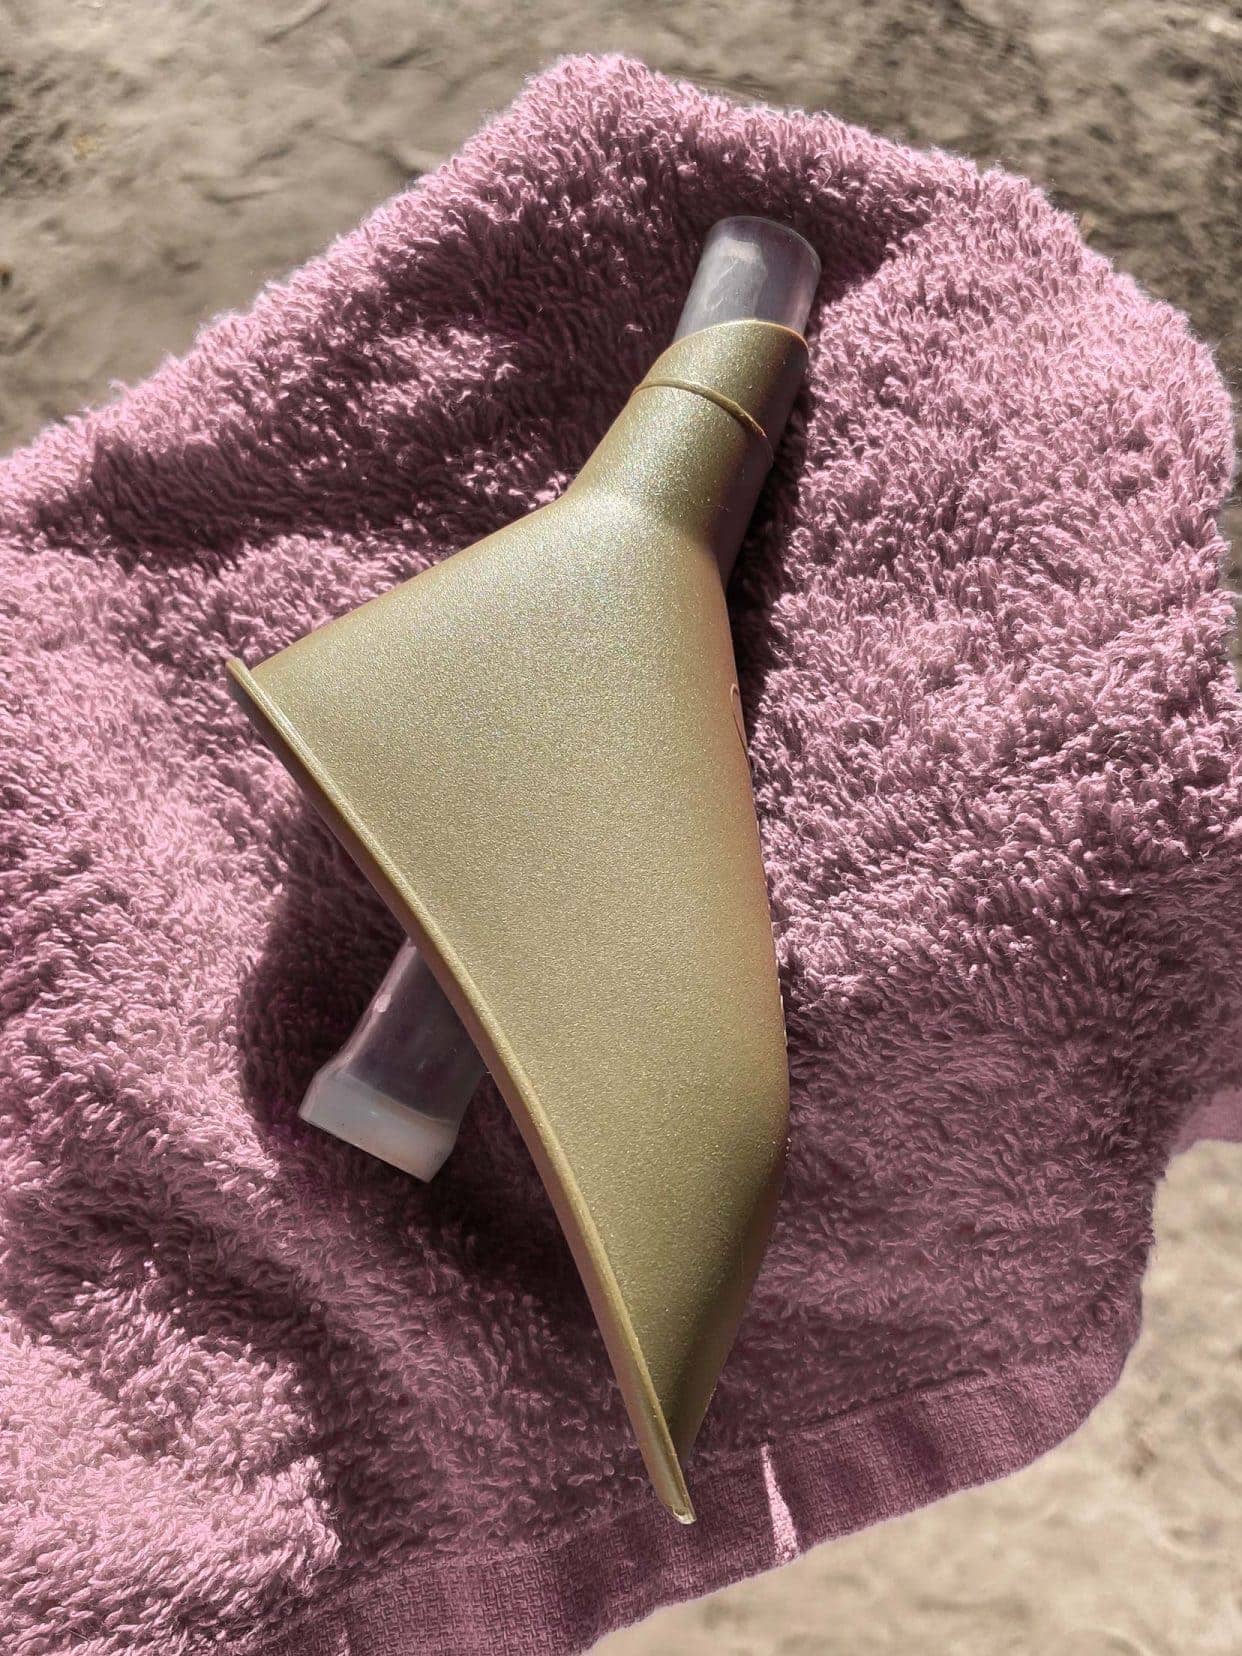
This funnel is made of durable plastic and directs flow easily, ensuring smiles remain on the dial. It is reusable and washable and can easily be stored in a backpack, car glove compartment, or even a handbag.
Shelley says it’s her lifesaver when we travel Africa. She gives the lowdown on the Freshette on the Lifejourney4two Instagram story.
And here is another of my travelling gems! Particularly when on safari and camping.
I've tried a few She-wees, and in my opinion, this is the absolute best.
Essential Safari Accessories … That’s A Wrap
Choosing the right accessories can make all the difference to your safari experience. Each item on this list will add value to your adventures, making your safari experience much more enjoyable.
Enjoy your safari adventure.
If you have any questions about these accessories or safari gadgets , please do ask; we have years of personal experience to share. Drop us a comment below.
Pin and Save
YOU MAY ALSO BE INTERESTED IN READING:
Planning Your Travels?
These are the travel resources we recommend and use when planning our trips.
- 🚘 Car Hire: We use DiscoverCars.com
- Motorhome/Campervan Rental: We highly recommend the Motorhome Republic
- 🪪 Order your International Driver’s Licence online here
- 🛏 Book Accommodation: We use Booking.com to find accommodation that suits our budget
- 🐶 Pet Sitting/Pet Sitters: Check Out TrustedHousesitters here (Use our Discount code: LIFEJOURNEY25 for 25% off. )
- Activities and Experiences: Get Your Guide and Viator
- Travel Insurance: Safetywing or World Nomads
- 🥾 Travel Gear and Accessories: Check out our top picks here — Lifejourney4two page on Amazon
For a more thorough list, visit our Travel Resources page here.